SalesPlay - Help Center
Top Searches:
Product
Stock
Invoice
Payment
Step-by-step guide
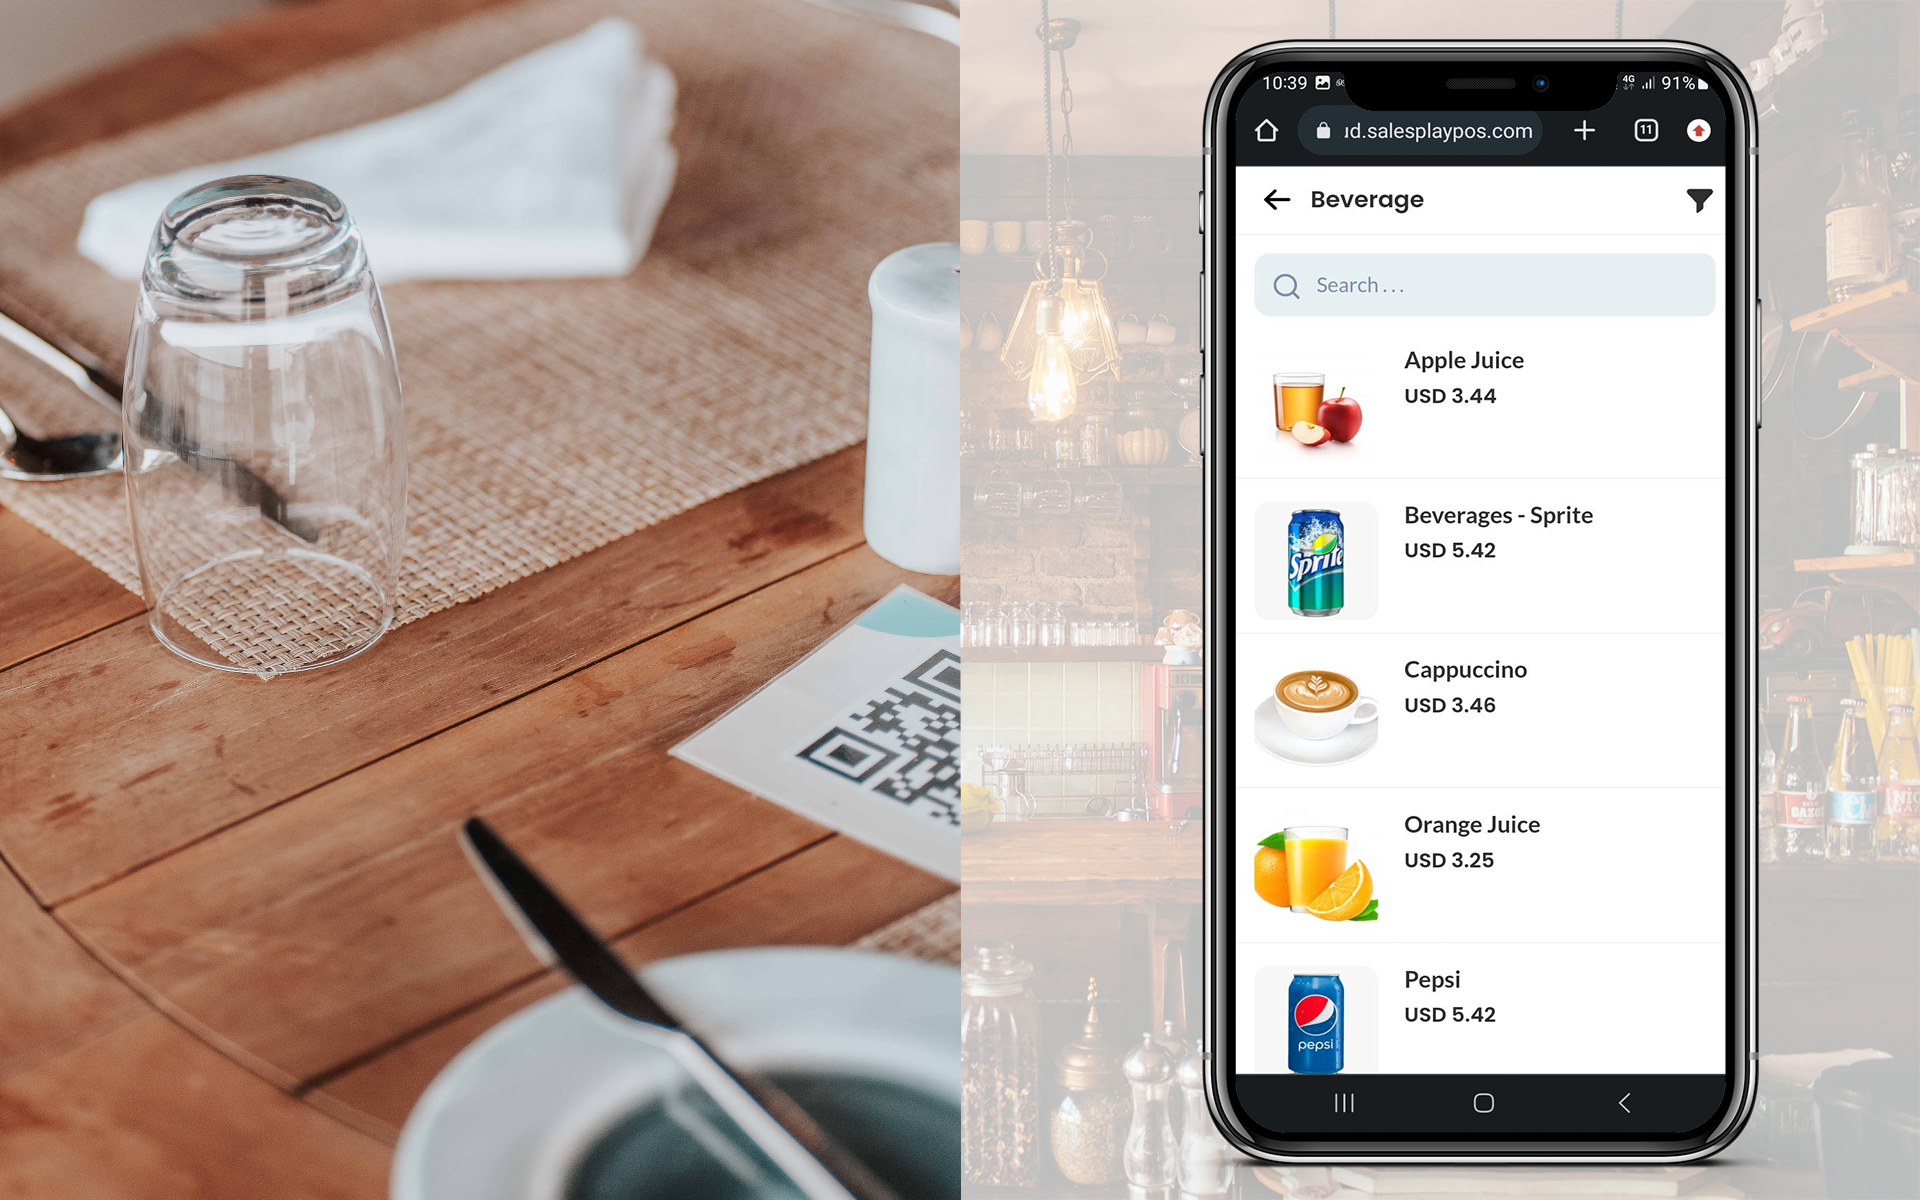
QR Ordering System
The QR Ordering System is integrated into the Point of Sale (POS) system, offering a seamless and efficient way for customers to interact with item carts or menus. Learn More
Web Store
The POS System now includes a "Create Web Store" feature, enabling businesses to showcase their products on a dedicated URL. Customers can conveniently place orders through this web store, and the received orders seamlessly integrate with the POS App. Learn More
Digital Menu
The QR Code Digital Menu in the SalesPlay POS system refers to a solution that replaces traditional paper menus with a digital alternative.
(Once you tick ON “QR Ordering”, it will appear as a sub-menu in the Settings section)
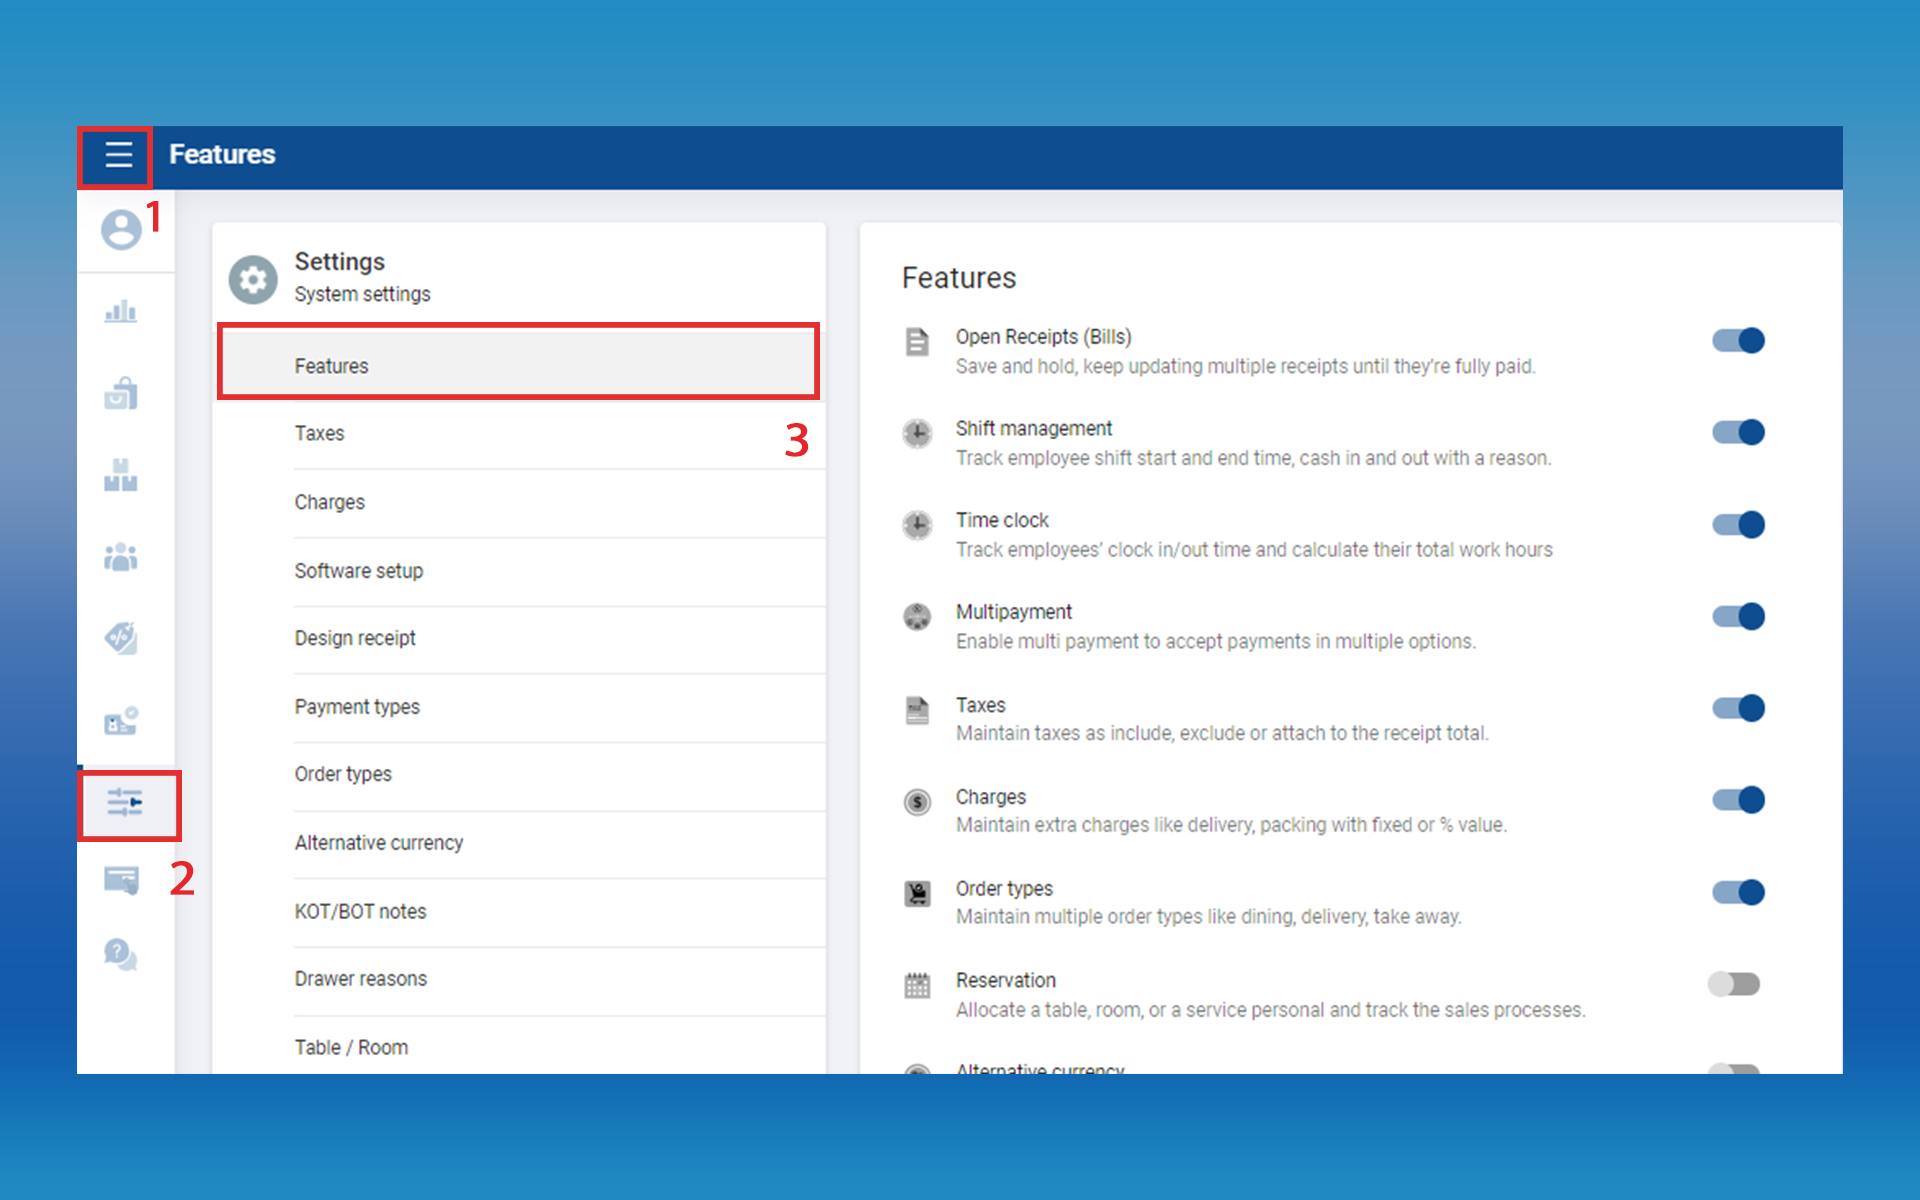
First, you need to Tick On "Open Receipts (Bills)" in the FEATURE section in backoffice.
Once you ON “Open Receipts (Bills)”, it will appear on POS APP as “Open Bills” in new sales interface.
The POS System now includes "Create Web Store" feature, enabling businesses to showcase their products on a dedicated URL. Customers can conveniently place orders through this web store, and the received orders seamlessly integrate with the POS App.
POS user has the flexibility to review and either accept or reject incoming orders. Upon acceptance, users can efficiently prepare the ordered items for fulfillment. This streamlined process enhances the overall efficiency and management of online orders within the POS system.
(Once you ON “QR Ordering”, it will appear as a sub-menu in the Settings section)
(Once click ‘save, Web Store URL will be generated with the option to COPY URL)
(To copy the URL, please click on the “ copy web store URL” section)
First, you need to Tick On "Open Receipts (Bills)" in the FEATURE section in backoffice.
(Once you ON “Open Receipts (Bills)”, it will appear on POS APP as “Open Bills” in new sales interface)
SalesPlay POS now offers an order notification sound feature, ensuring that external orders like "WEB STORE ORDER" or QR Ordering are never missed. A sound will play when a new order arrives and continue until the order is checked, helping cashiers and users stay on top of incoming orders efficiently. More
Was this helpful?