SalesPlay - Help Center
Let's Get Started with SalesPlay Web POS App
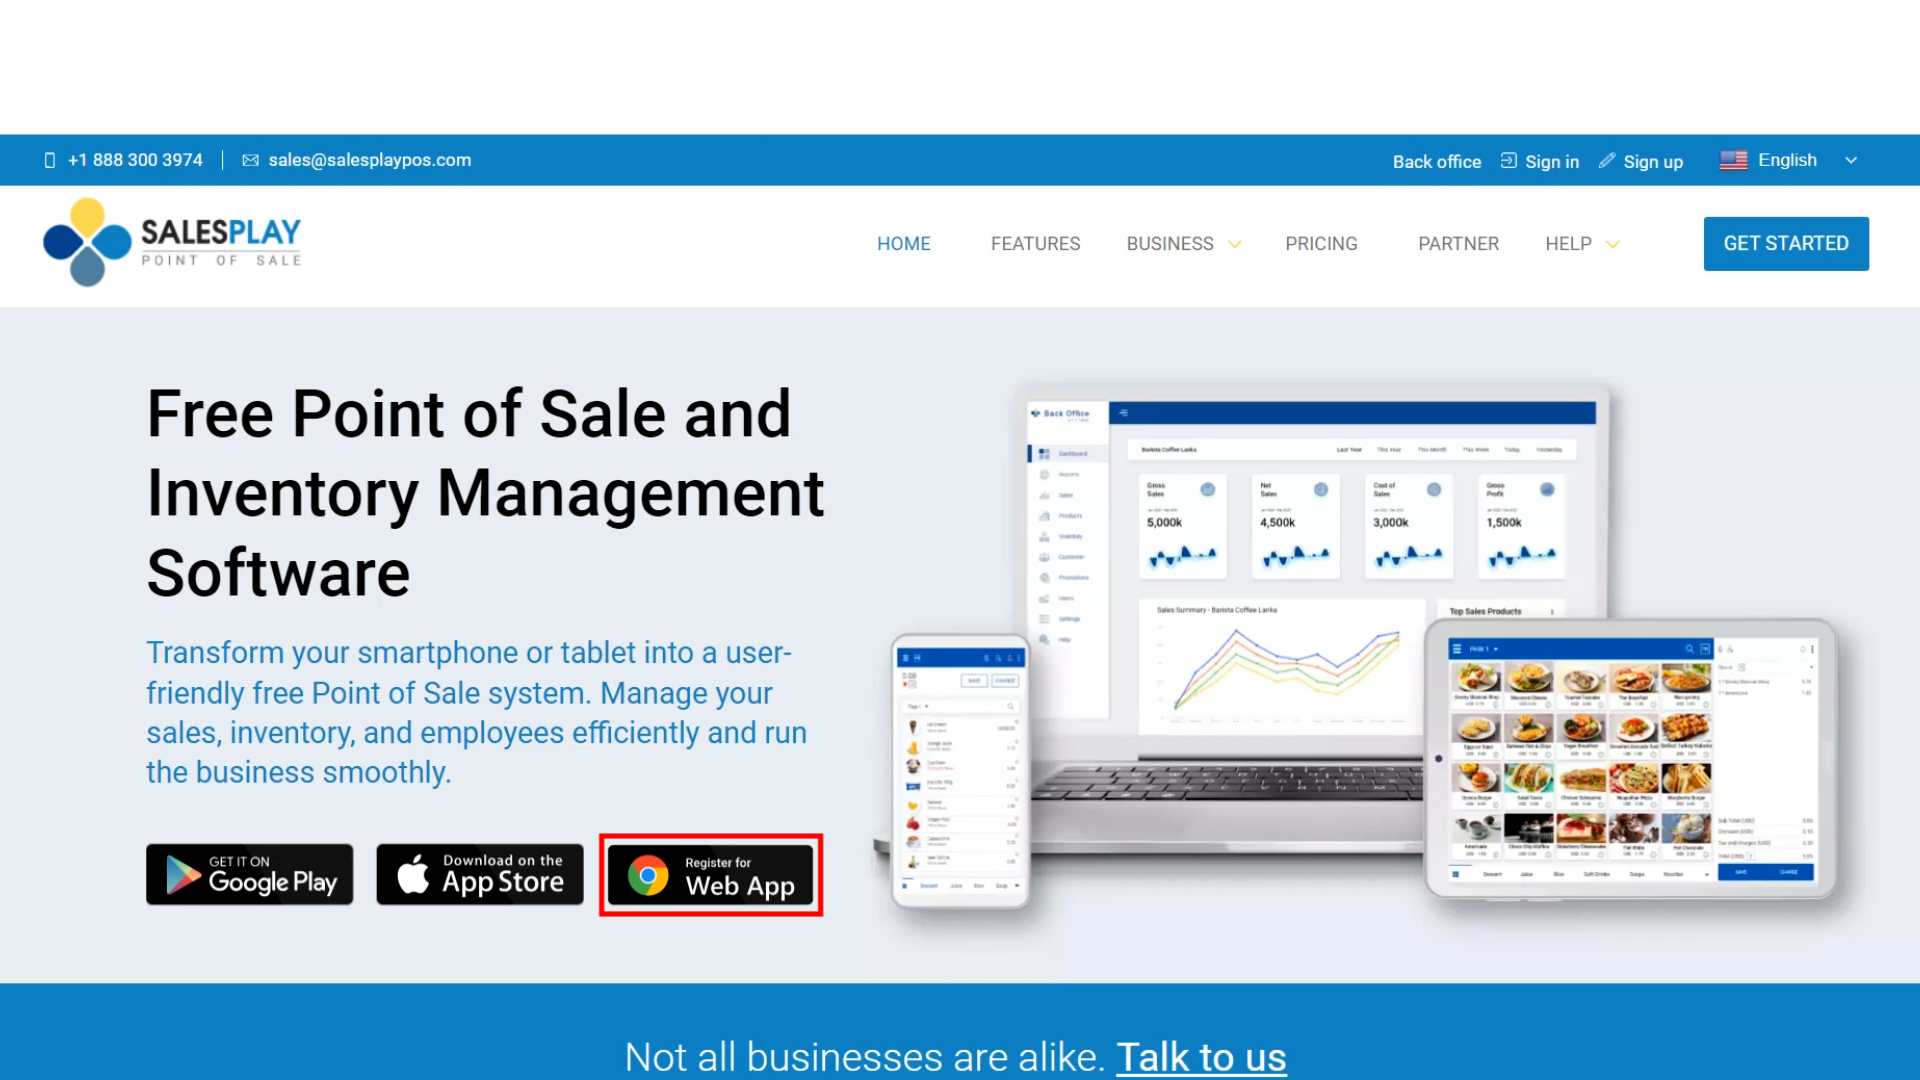
SalesPlay Website > 'Register for Web App'
Was this helpful?
Special Note
- To access SalesPlay Web POS seamlessly, it is recommended to use the Exe File option. After downloading, a desktop shortcut will be created for easy access. Simply double-click the shortcut to open SalesPlay Web POS without relying on a web browser.
- How to Enable the EXE File Option: https://help.salesplaypos.com/help/how-to-switch-to-web-pos-exe
- If not using the EXE File option, the recommended web browser for SalesPlay web POS is Google Chrome, and it needs to be configured to permit "show notifications."
In order to ensure the smooth operation of the SalesPlay Web POS, it's essential to use Google Chrome as your web browser and enable the "show notifications" feature. If this feature is not enabled, you may encounter loading issues. To help you activate this feature, please follow the steps provided below.- Open Google Chrome Web Browser
- Go to https://webpos.salesplaypos.com/
- Tap View site information Permissions Notifications.( Tap the padlock icon in the address bar)Turn On Notifications
- For detailed information on the recommended and minimum system requirements, please refer to this link: https://help.salesplaypos.com/help/how-to-switch-to-web-pos-exe
-
Please note that a unique email address must be used for each platform (Android, iOS, and Web POS) during account creation. This approach enhances simplicity and security, ensuring that one email address is associated with only one platform.
-
You cannot use the same email address for creating an account on one platform and then use it to sign in on another platform.
For example:
If you create a Web POS account using an email address and need to add an Android Terminal for the same shop, you cannot use the same email address.
1. To get registered with SalesPlay Web POS, visit SalesPlay homepage where you will find the 'Register for Web App' button.
- Visit SalesPlay homepage
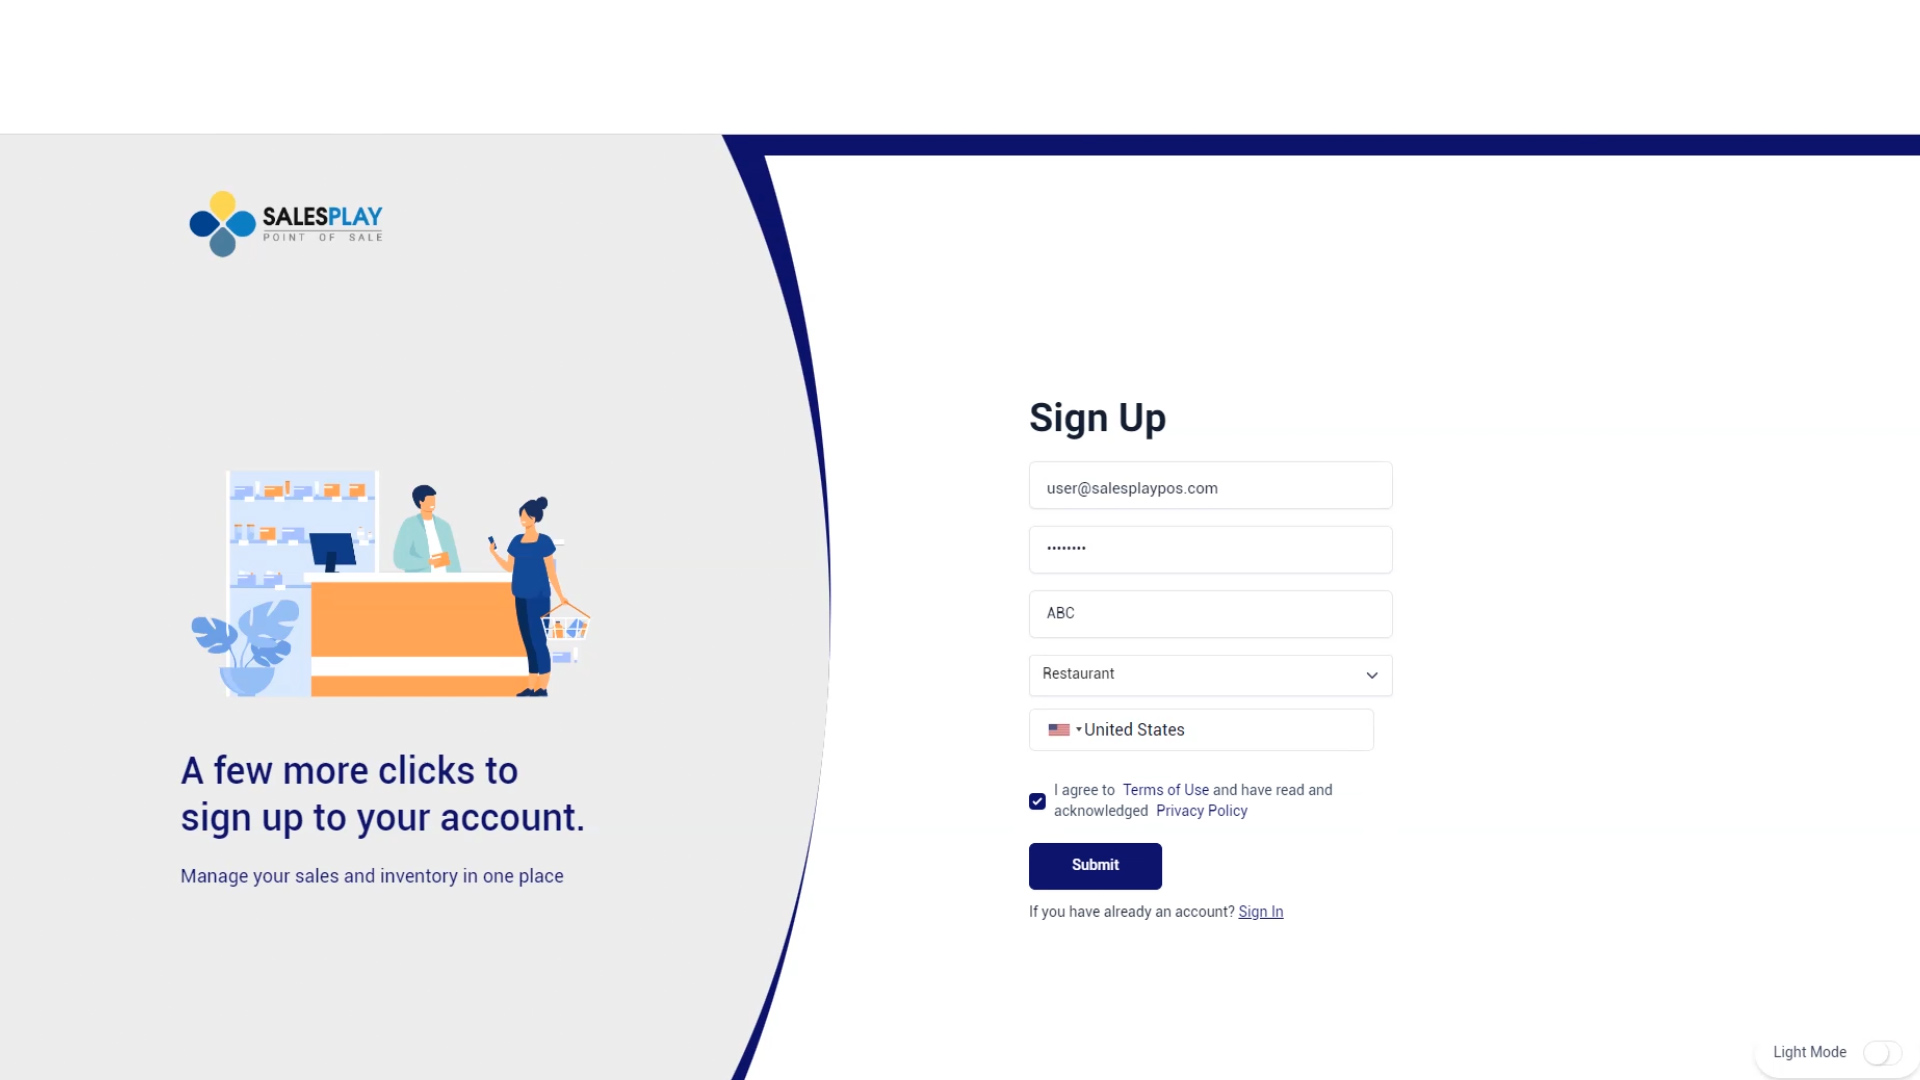
2. Sign Up
- To sign up,
- Enter a valid Email address
- Enter a password : must be at least 8 characters.
- Enter your business name and select business type and your country.
- Click 'Submit'
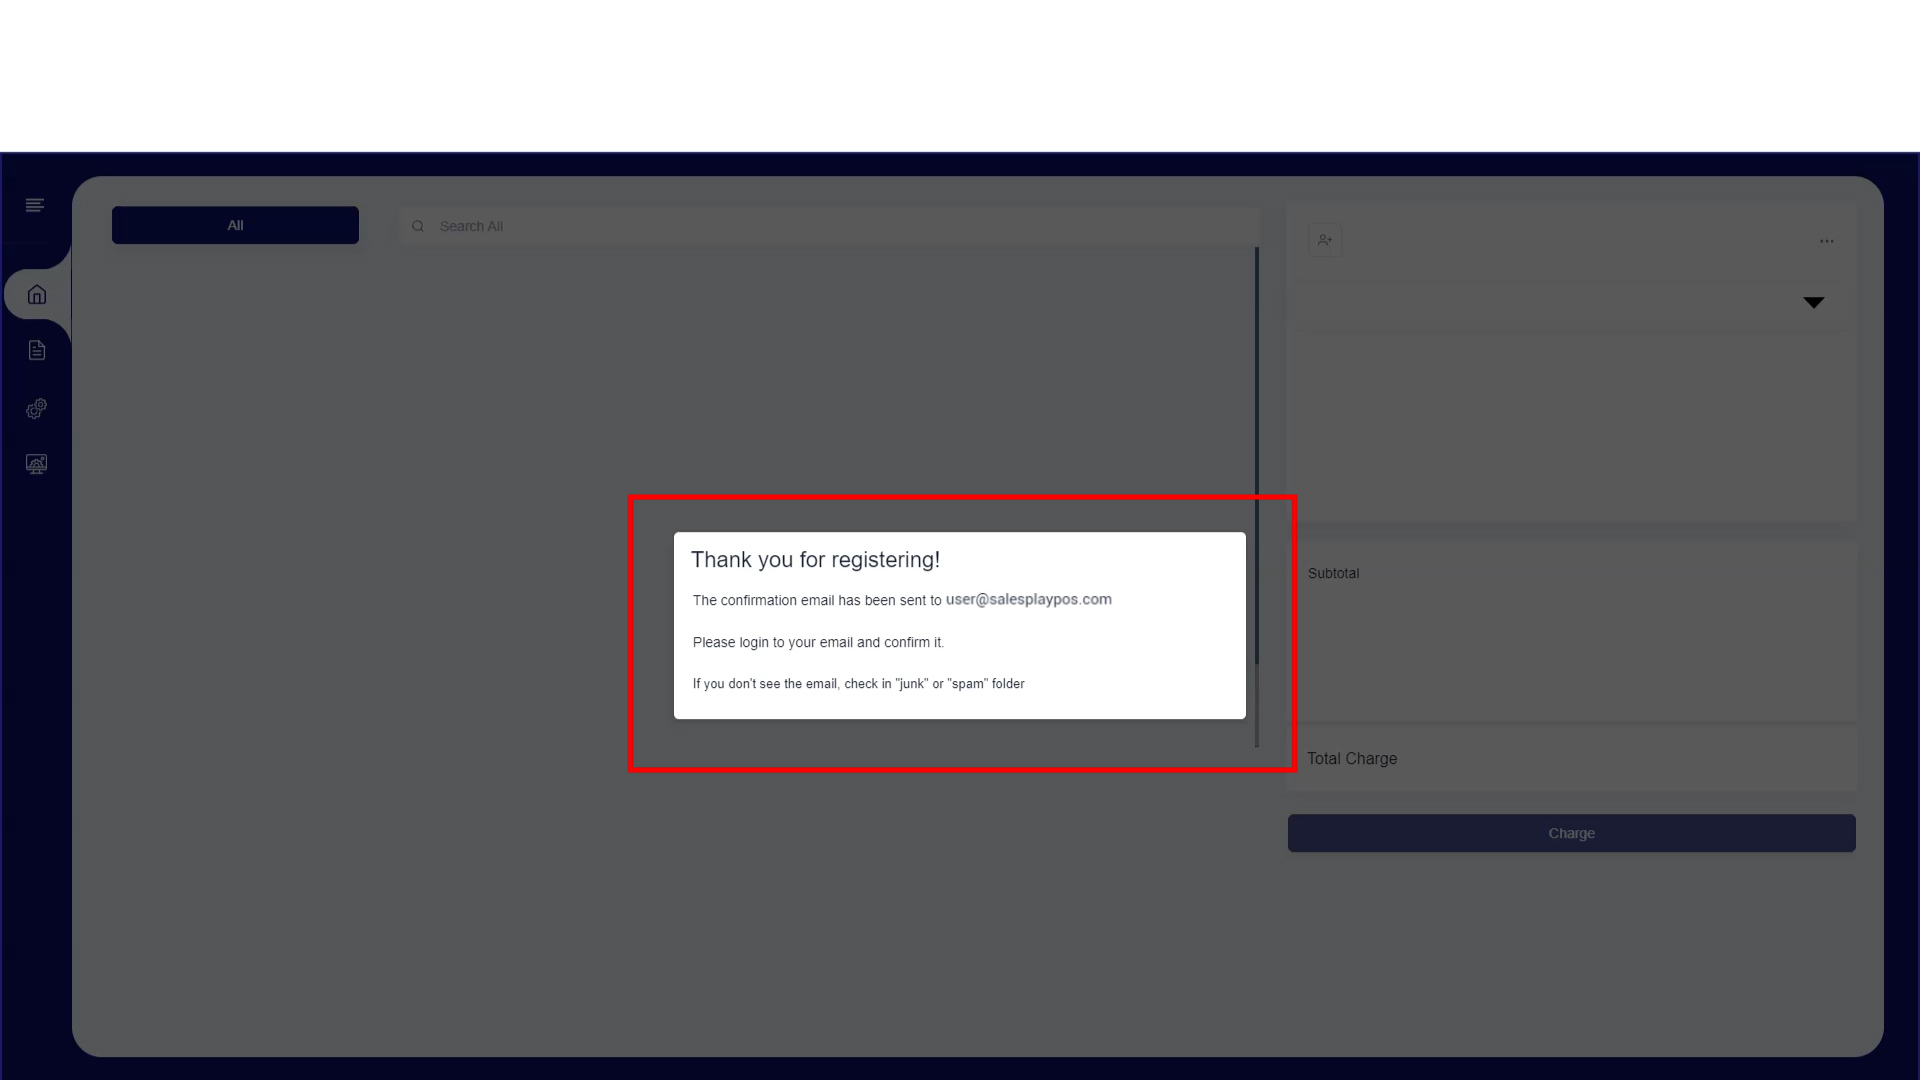
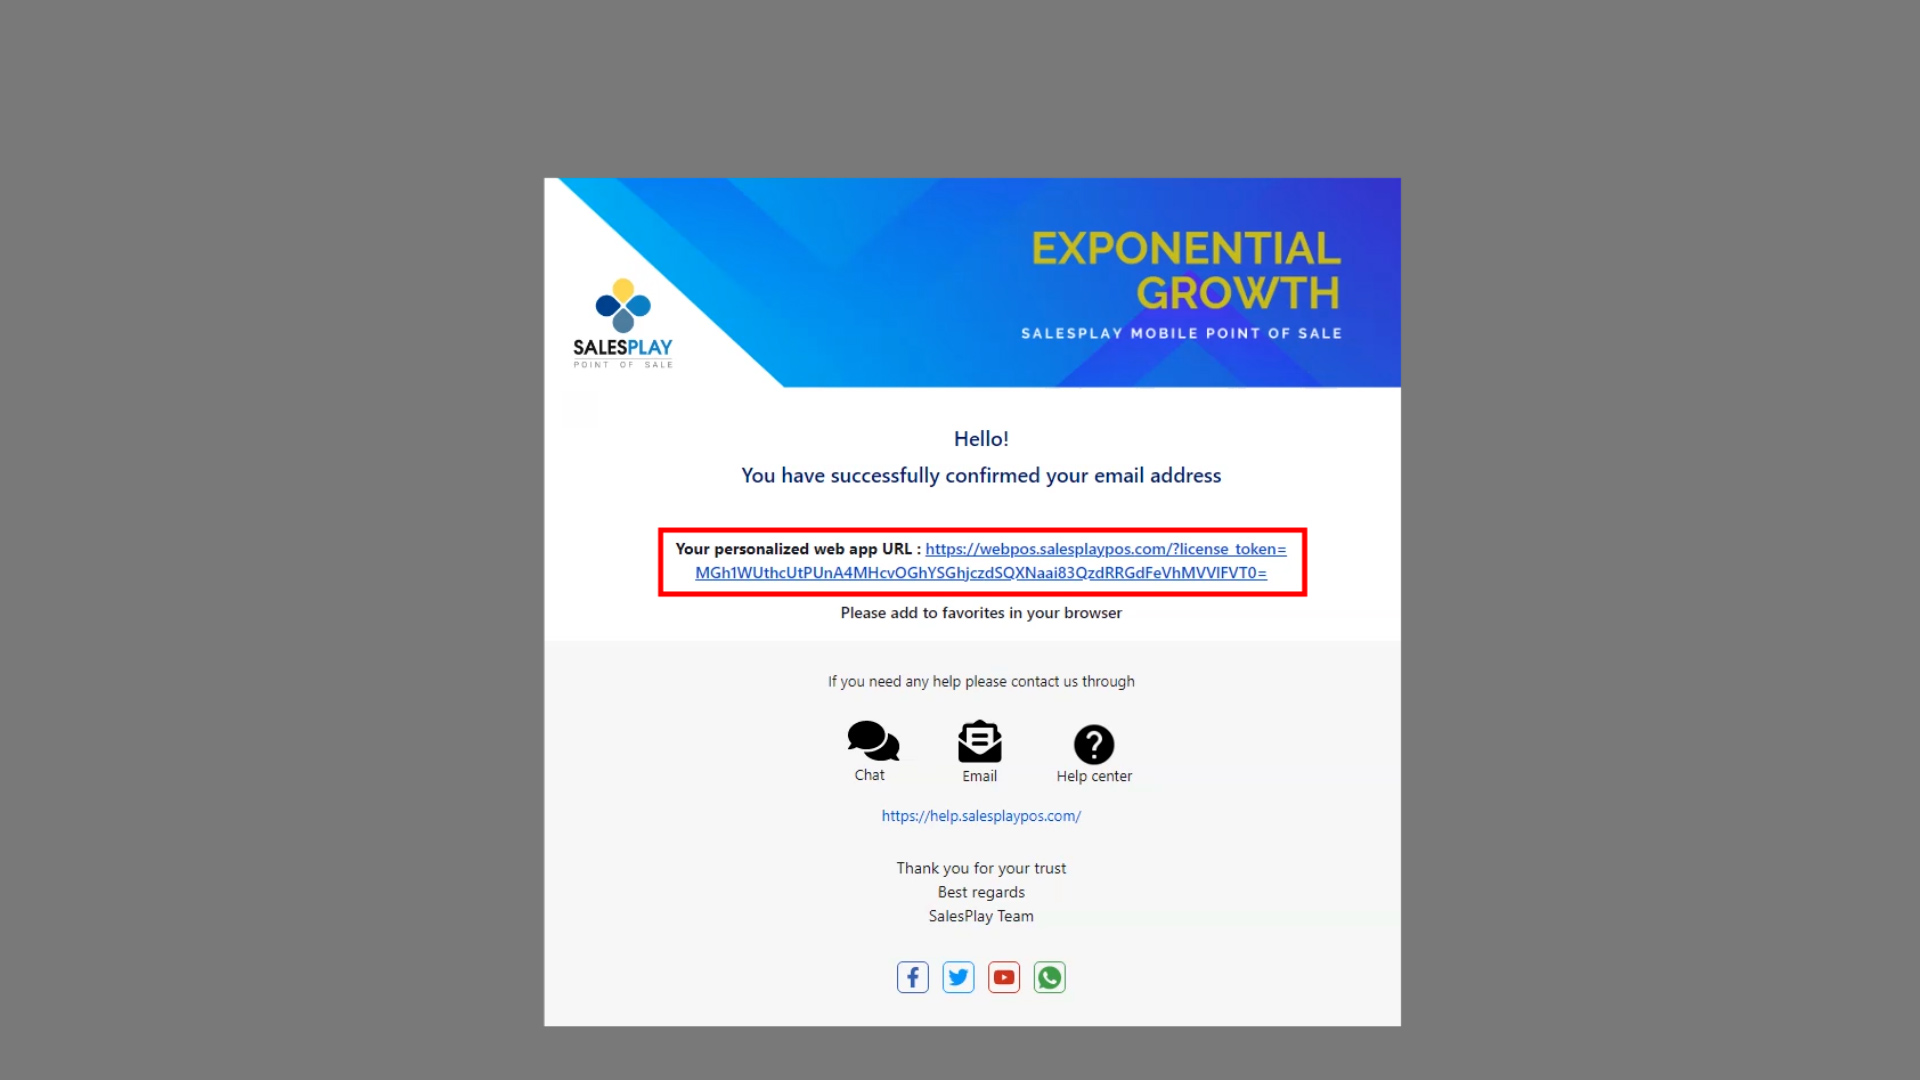
3. Now you will receive the confirmation Email to the Email address you provided during 'Sign up'. Please check you your inbox.
- If you haven't received it, please check your spam folder as well.
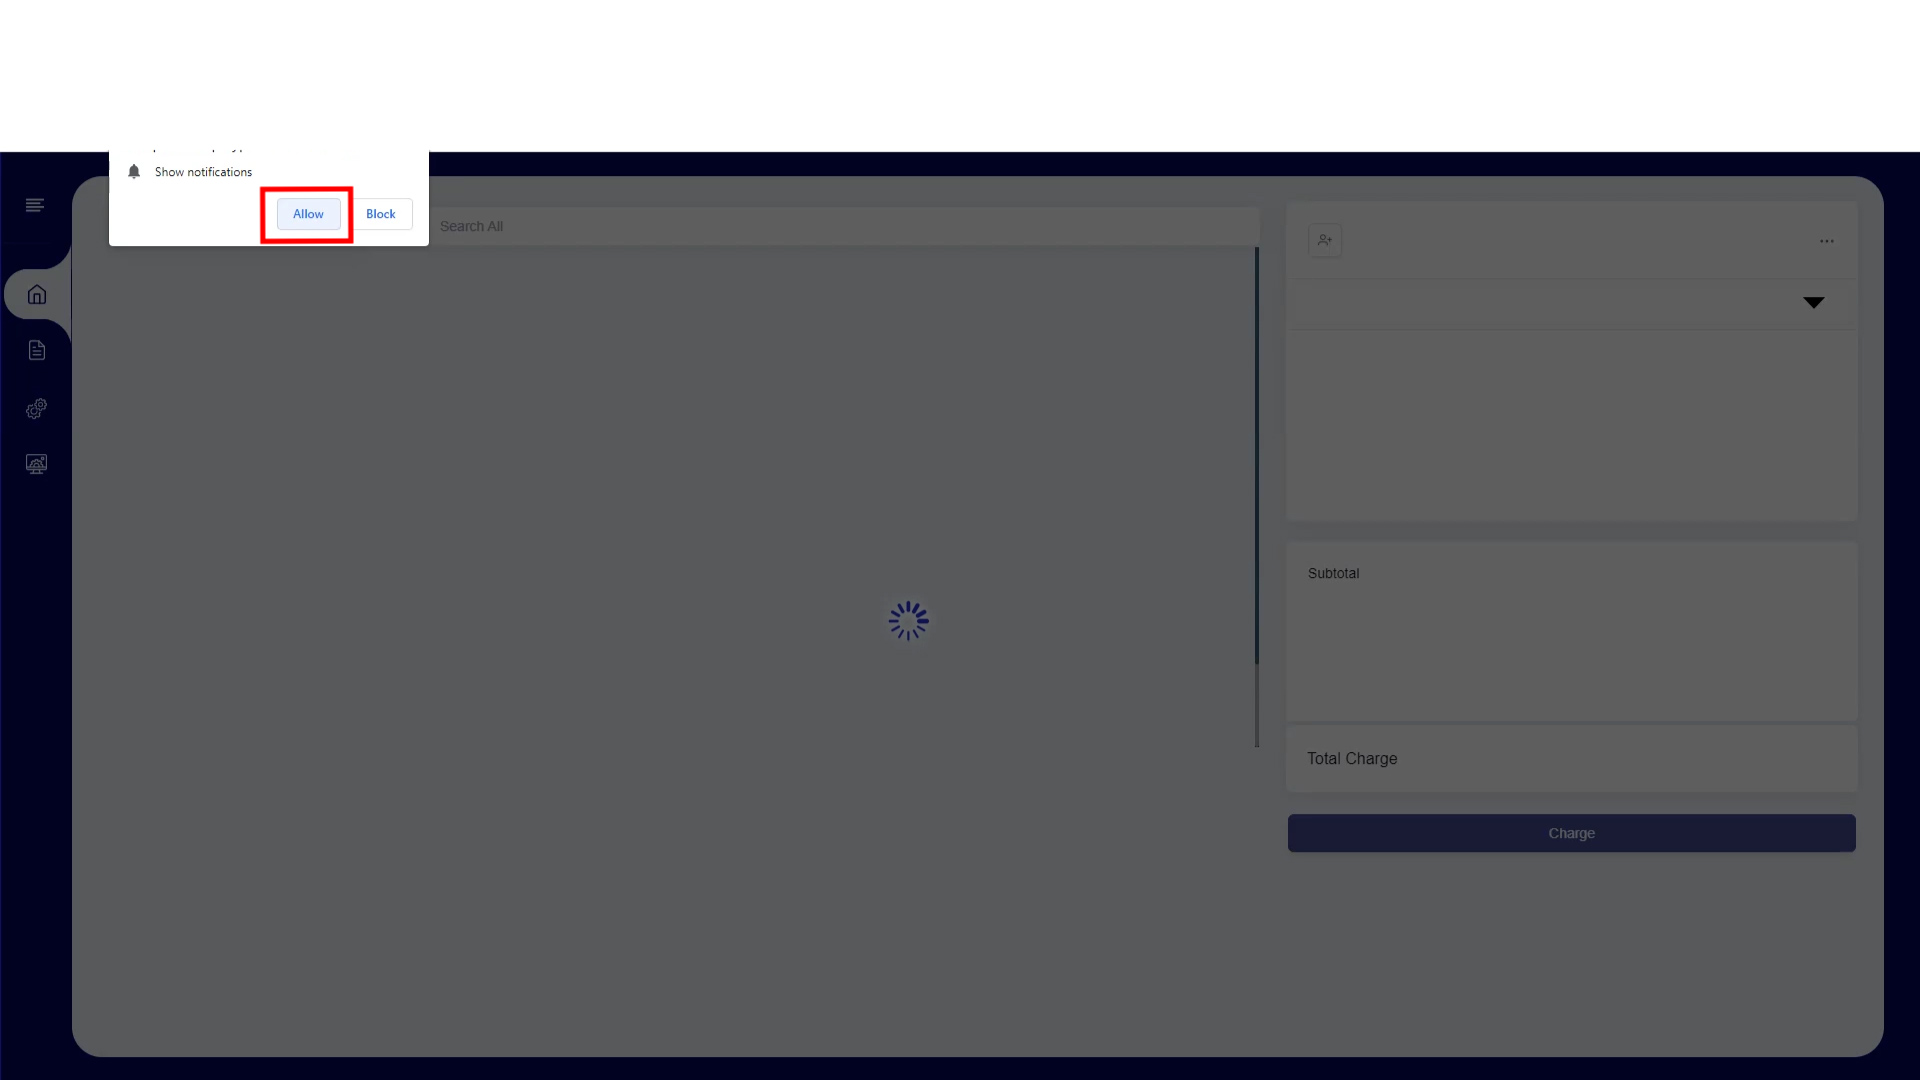
5.After successfully getting registered , you need to allow SalesPlay to send notifications for you, as in this image.
- If you cannot enable it here,
- Open Chrome
- Click 'Settings' at the top right corner and select 'Privacy and security'.
- Then go to 'Site settings' > 'Permissions' > 'Notifications'.
- At the 'Allowed to send notifications' section, click 'Add' button and you can simply enter your web app URL and then click 'Add'.
- Make sure to refresh the web app page after allowing the notifications.
Related Help Articles
Was this helpful?
