SalesPlay - Help Center
Top Searches:
Product
Stock
Invoice
Payment
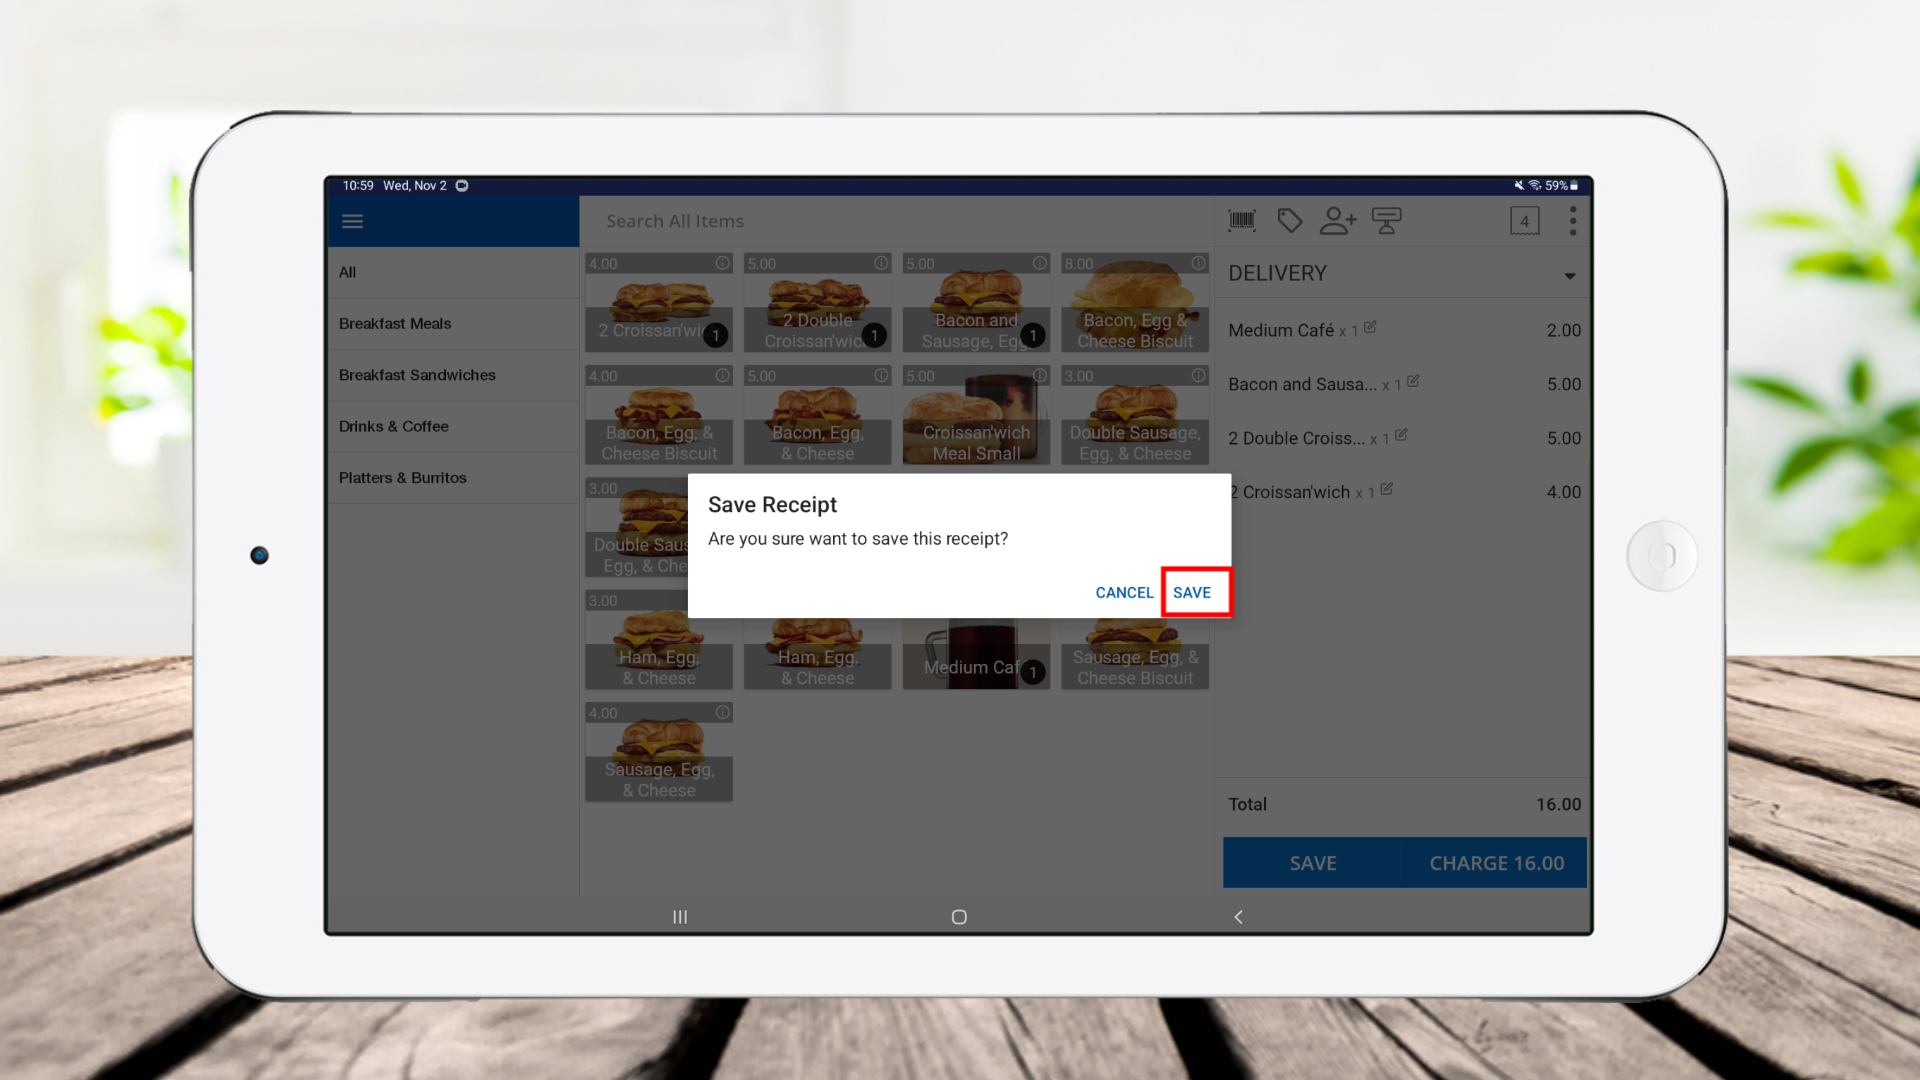
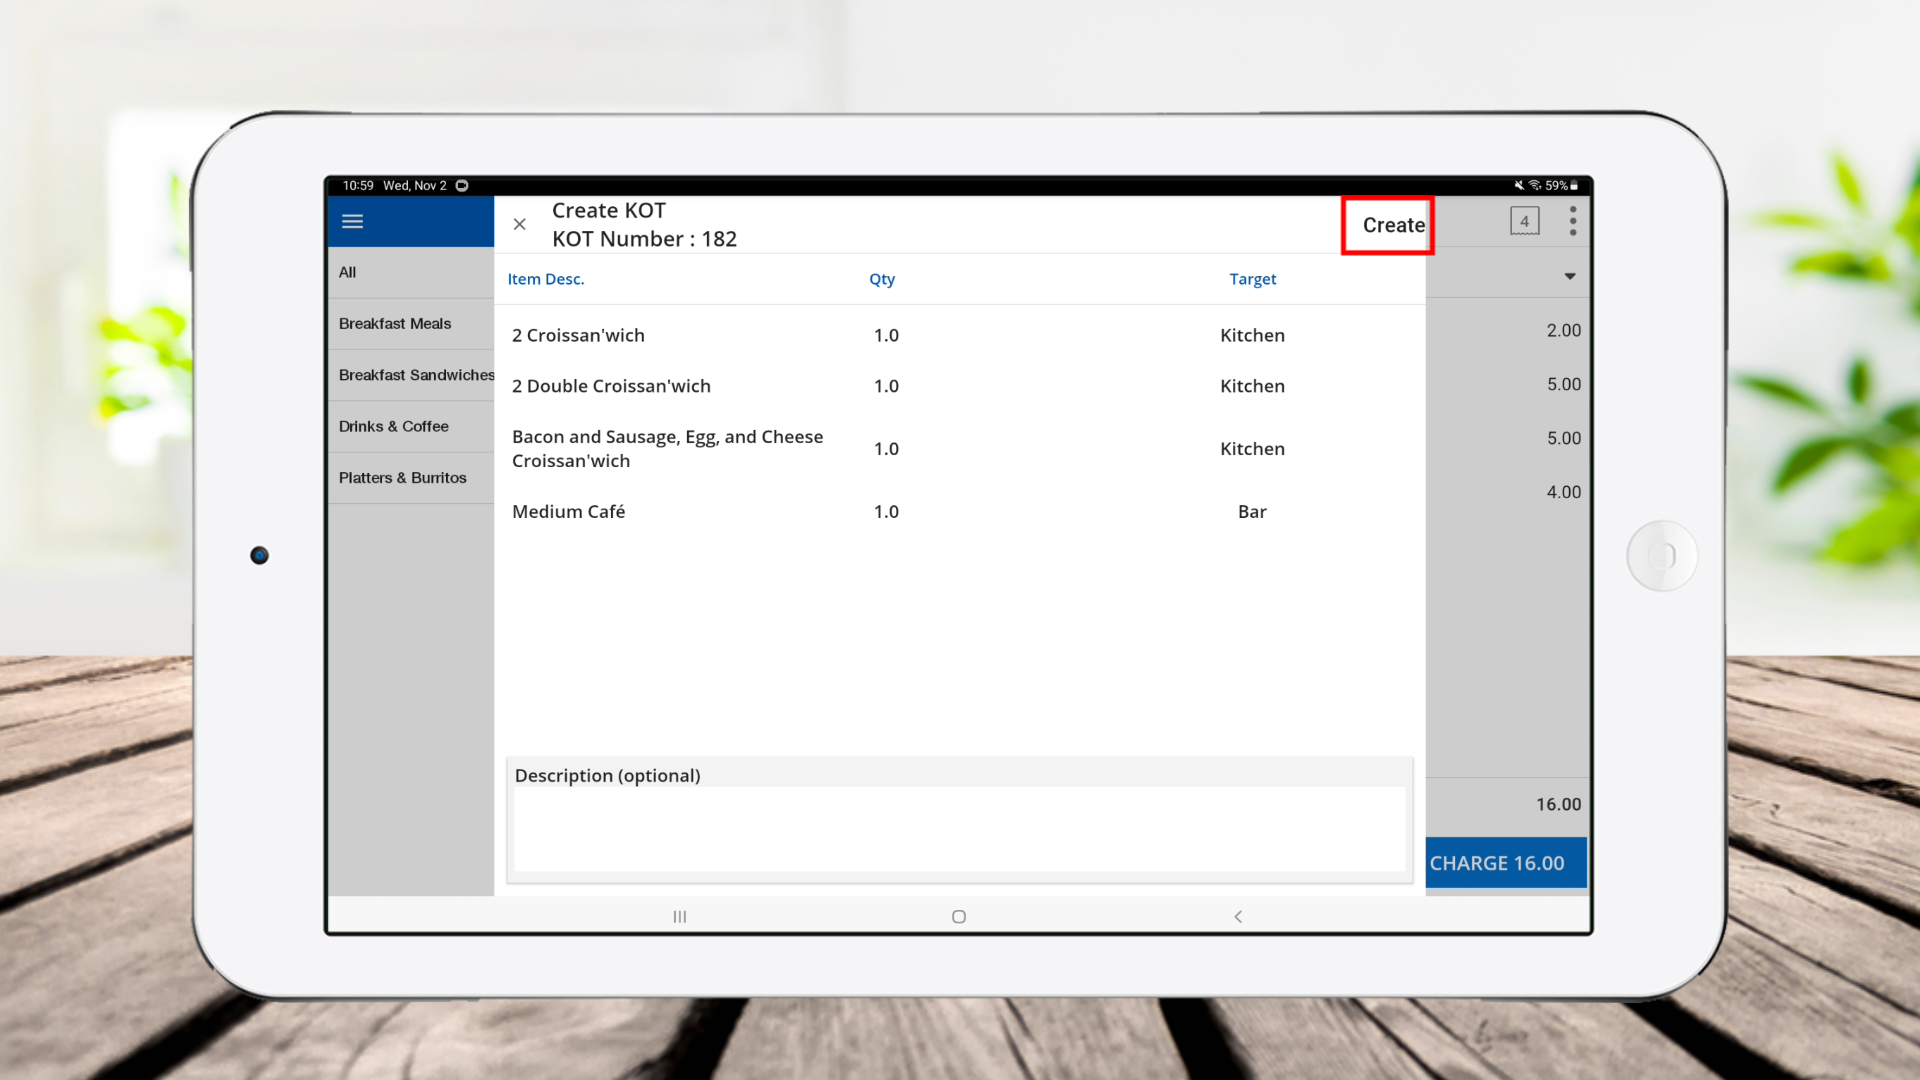
Step-by-step Process
Was this helpful?
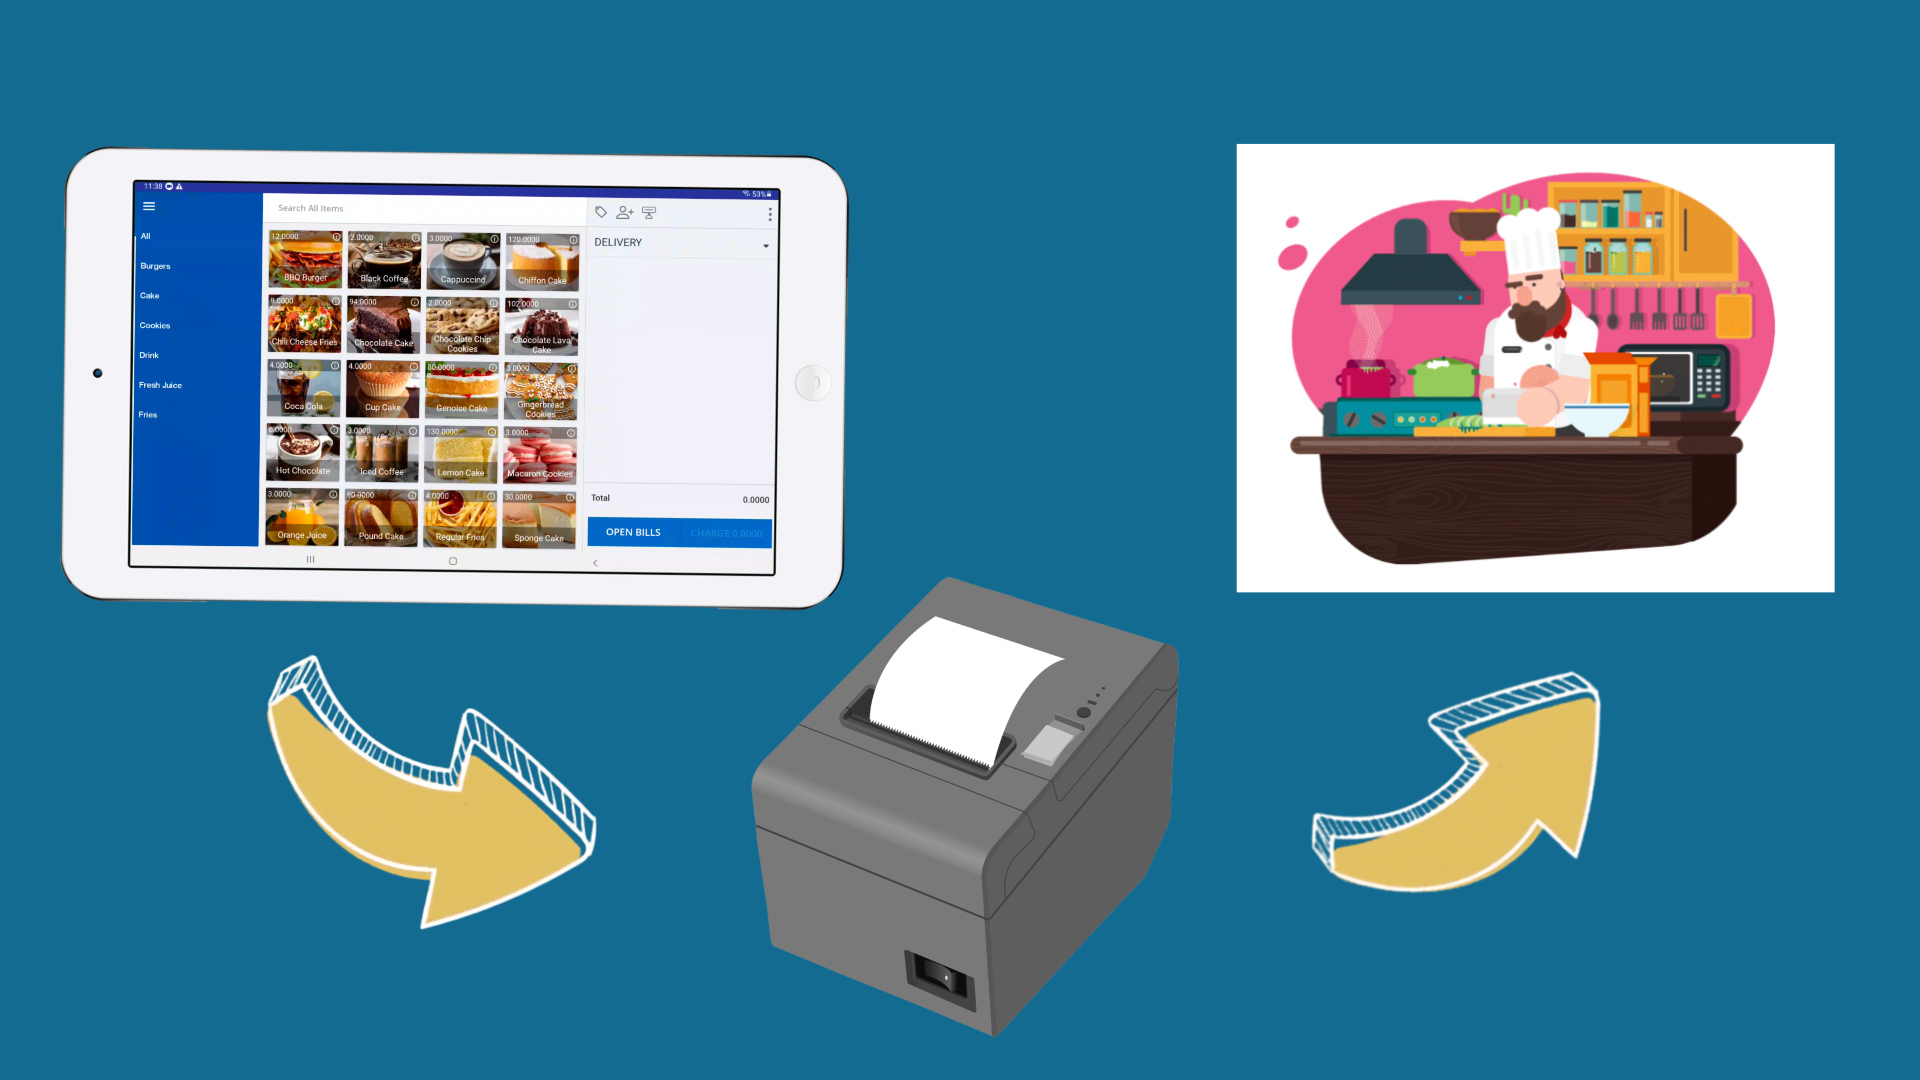

SalesPlay POS System allows users to reset the Kitchen Order Ticket (KOT) number sequence based on shifts. Now, POS users can opt to start a fresh KOT number sequence at the end of each shift.
When ending a shift, users will see an option to toggle on the "reset KOT number sequence." If this option is enabled, the KOT number will reset at the beginning of the next shift. If the option is not enabled, the KOT numbers will continue in sequence without resetting.
Read More
How to reset the KOT number sequence
• POS App main menu
• Select “ Manage Sale ”
• Click “Cash Management”
• Select “Shift End’
• Tick On the “Reset KOT number sequence” option
• Click “Run Shift End Process”
• Click “Complete”
( Once you complete, the KOT number will reset at the beginning of the next shift.)
Special Note :
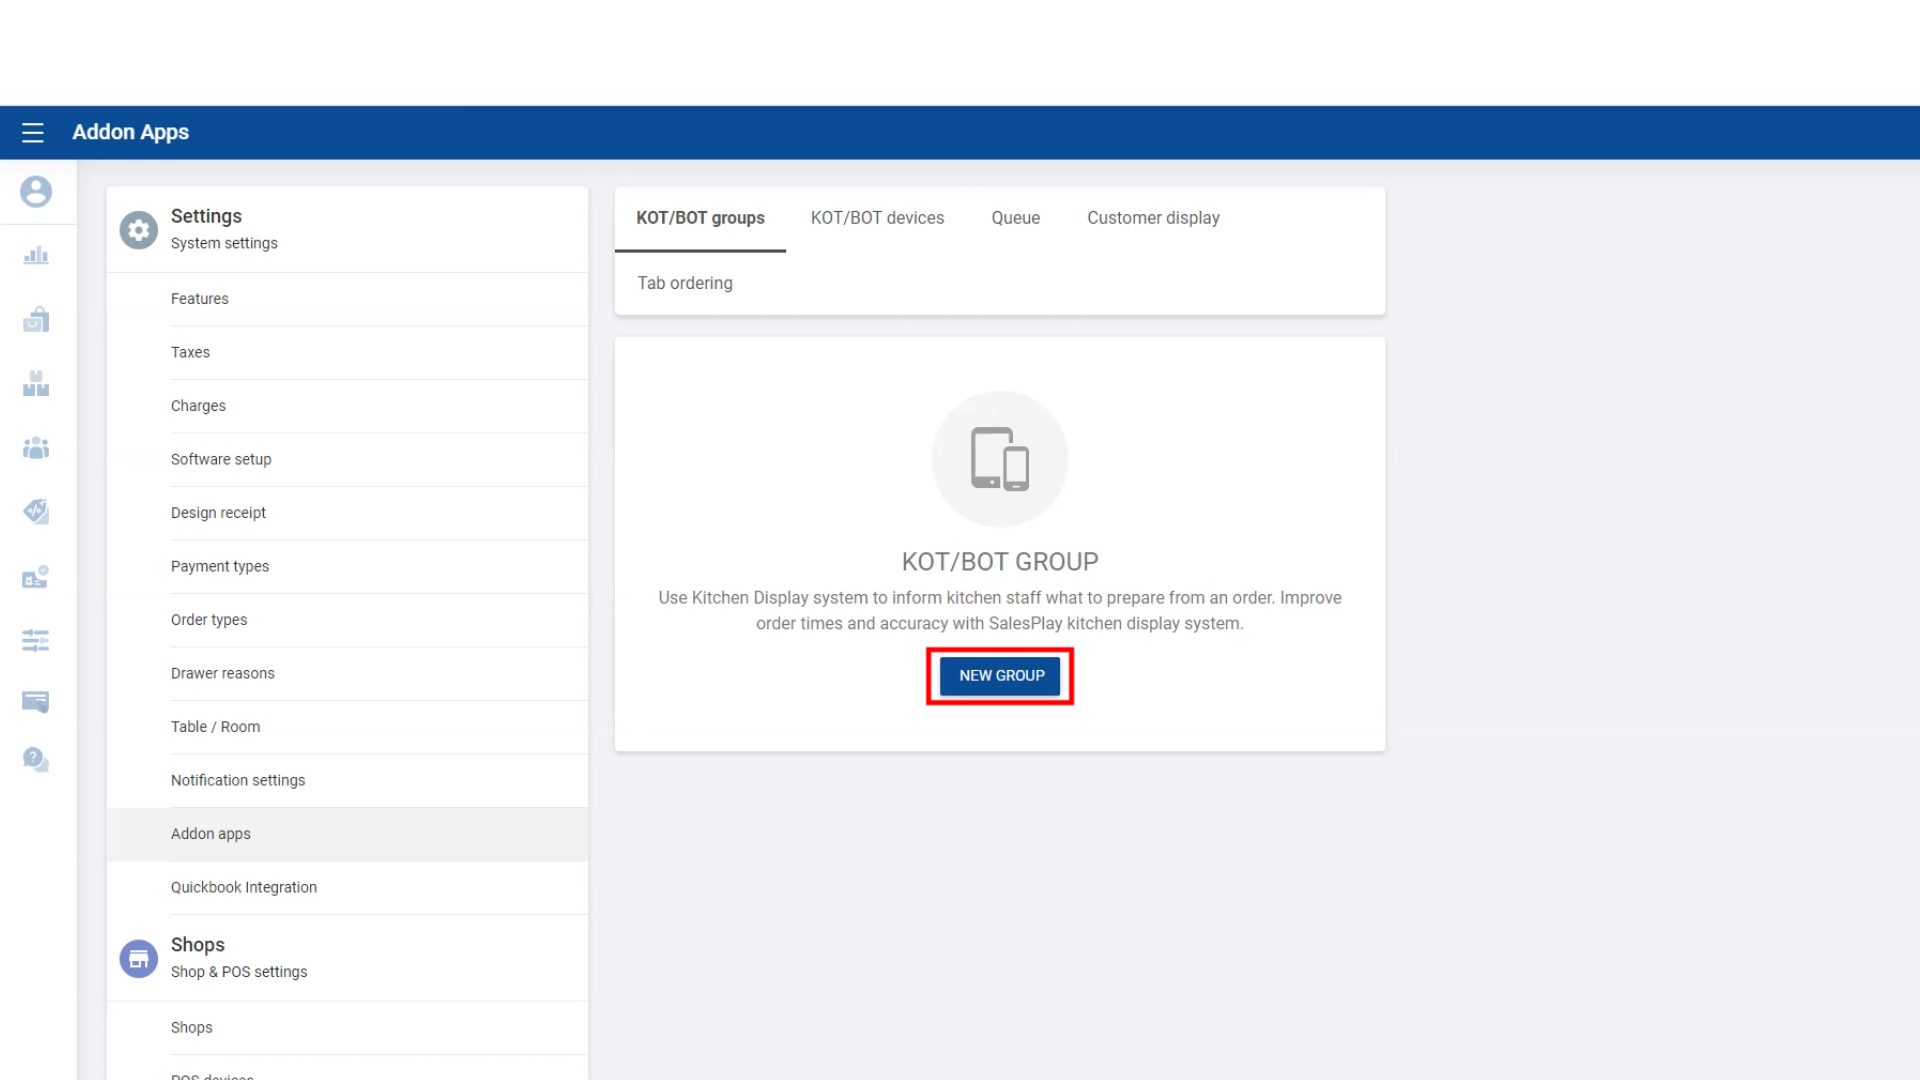
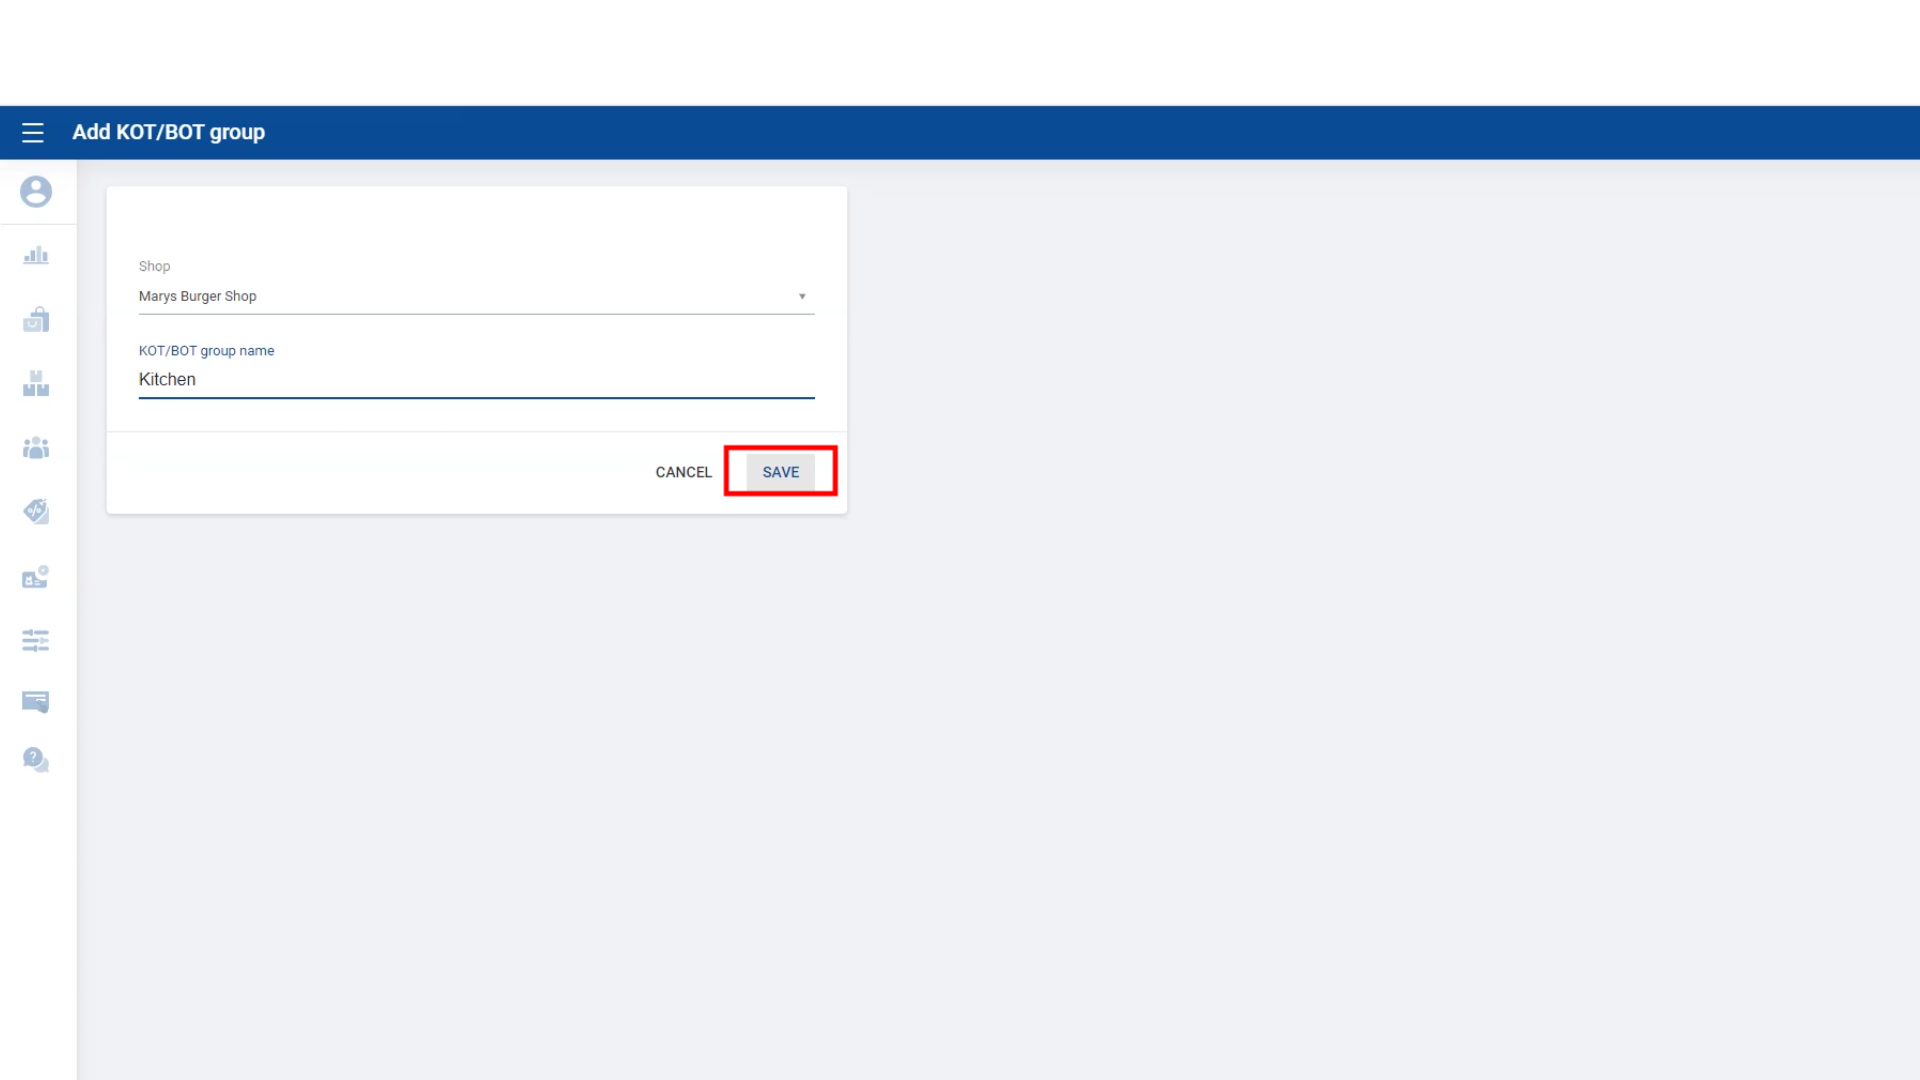
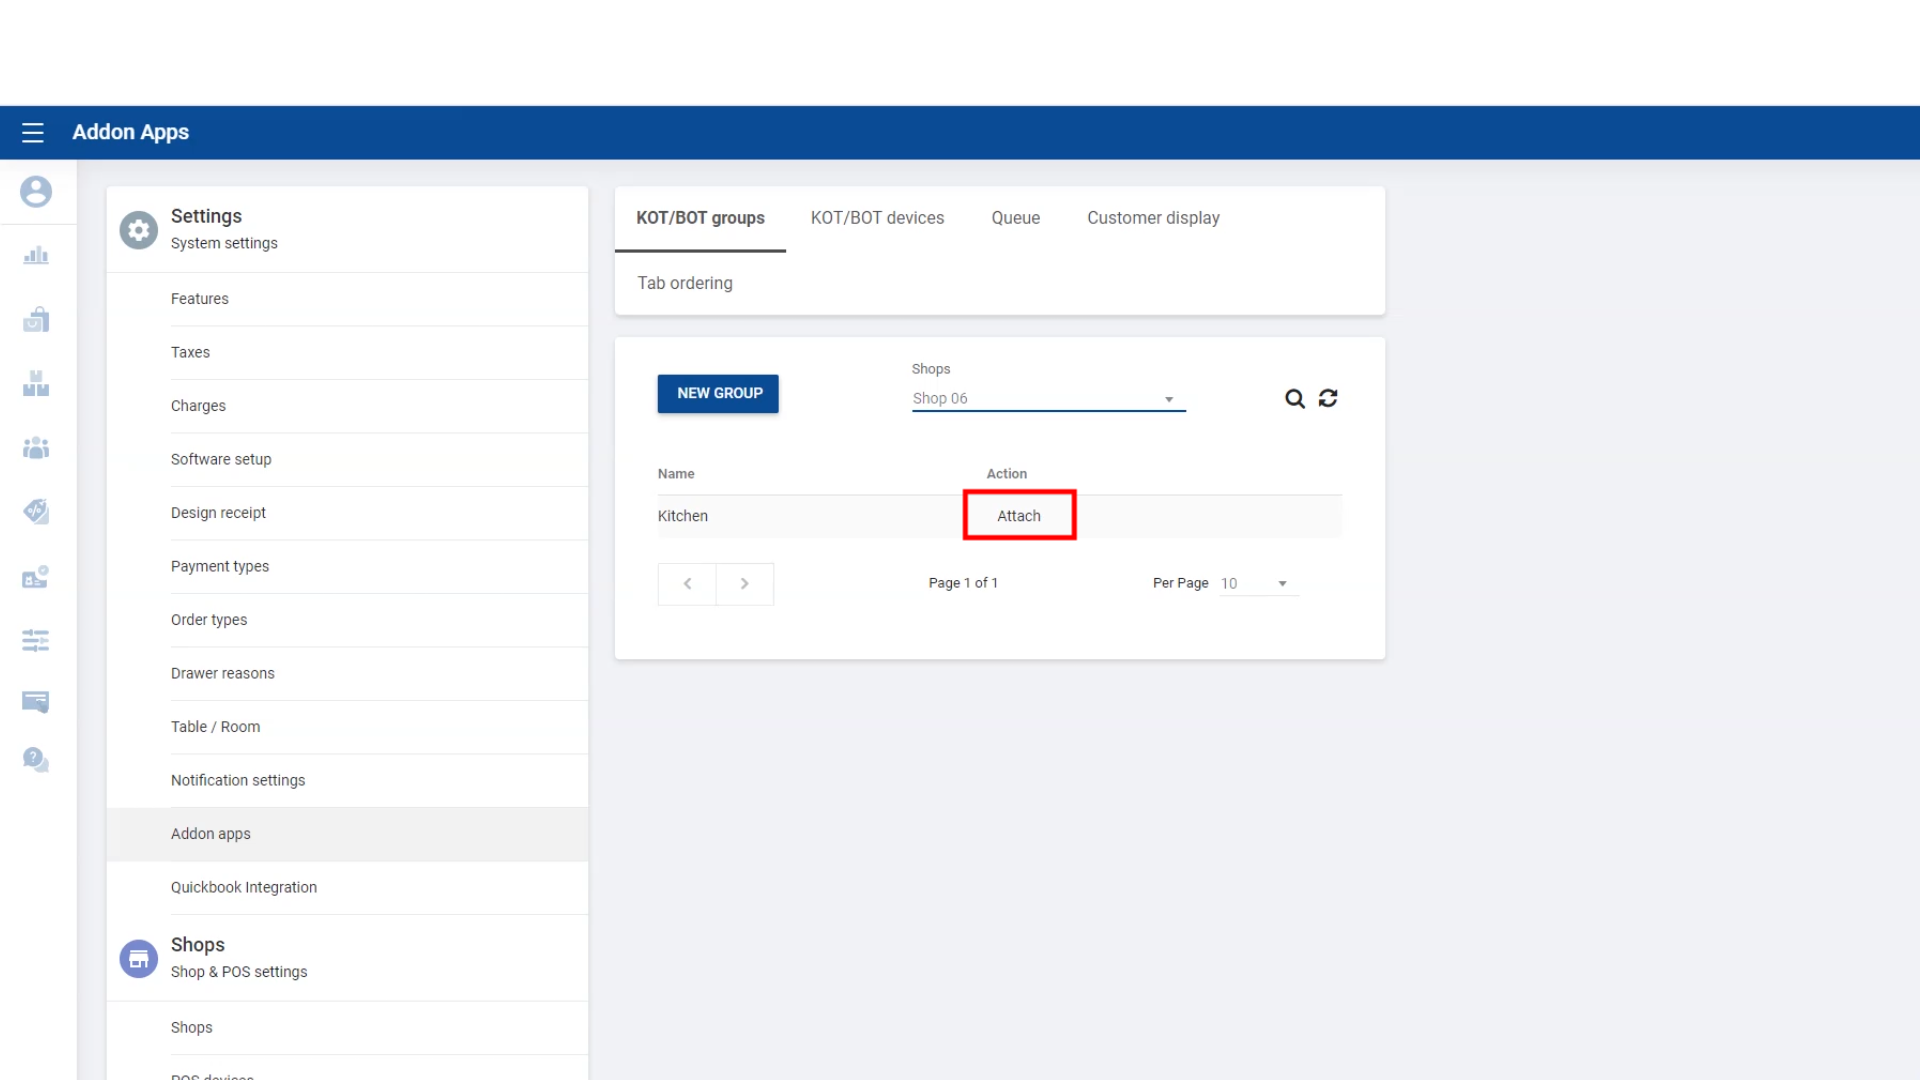
To run this process, you need to activate the "Shift" function from the BackOffice. Follow these steps:
Was this helpful?