Help | SalesPlay Help Center
How to Create an Employee

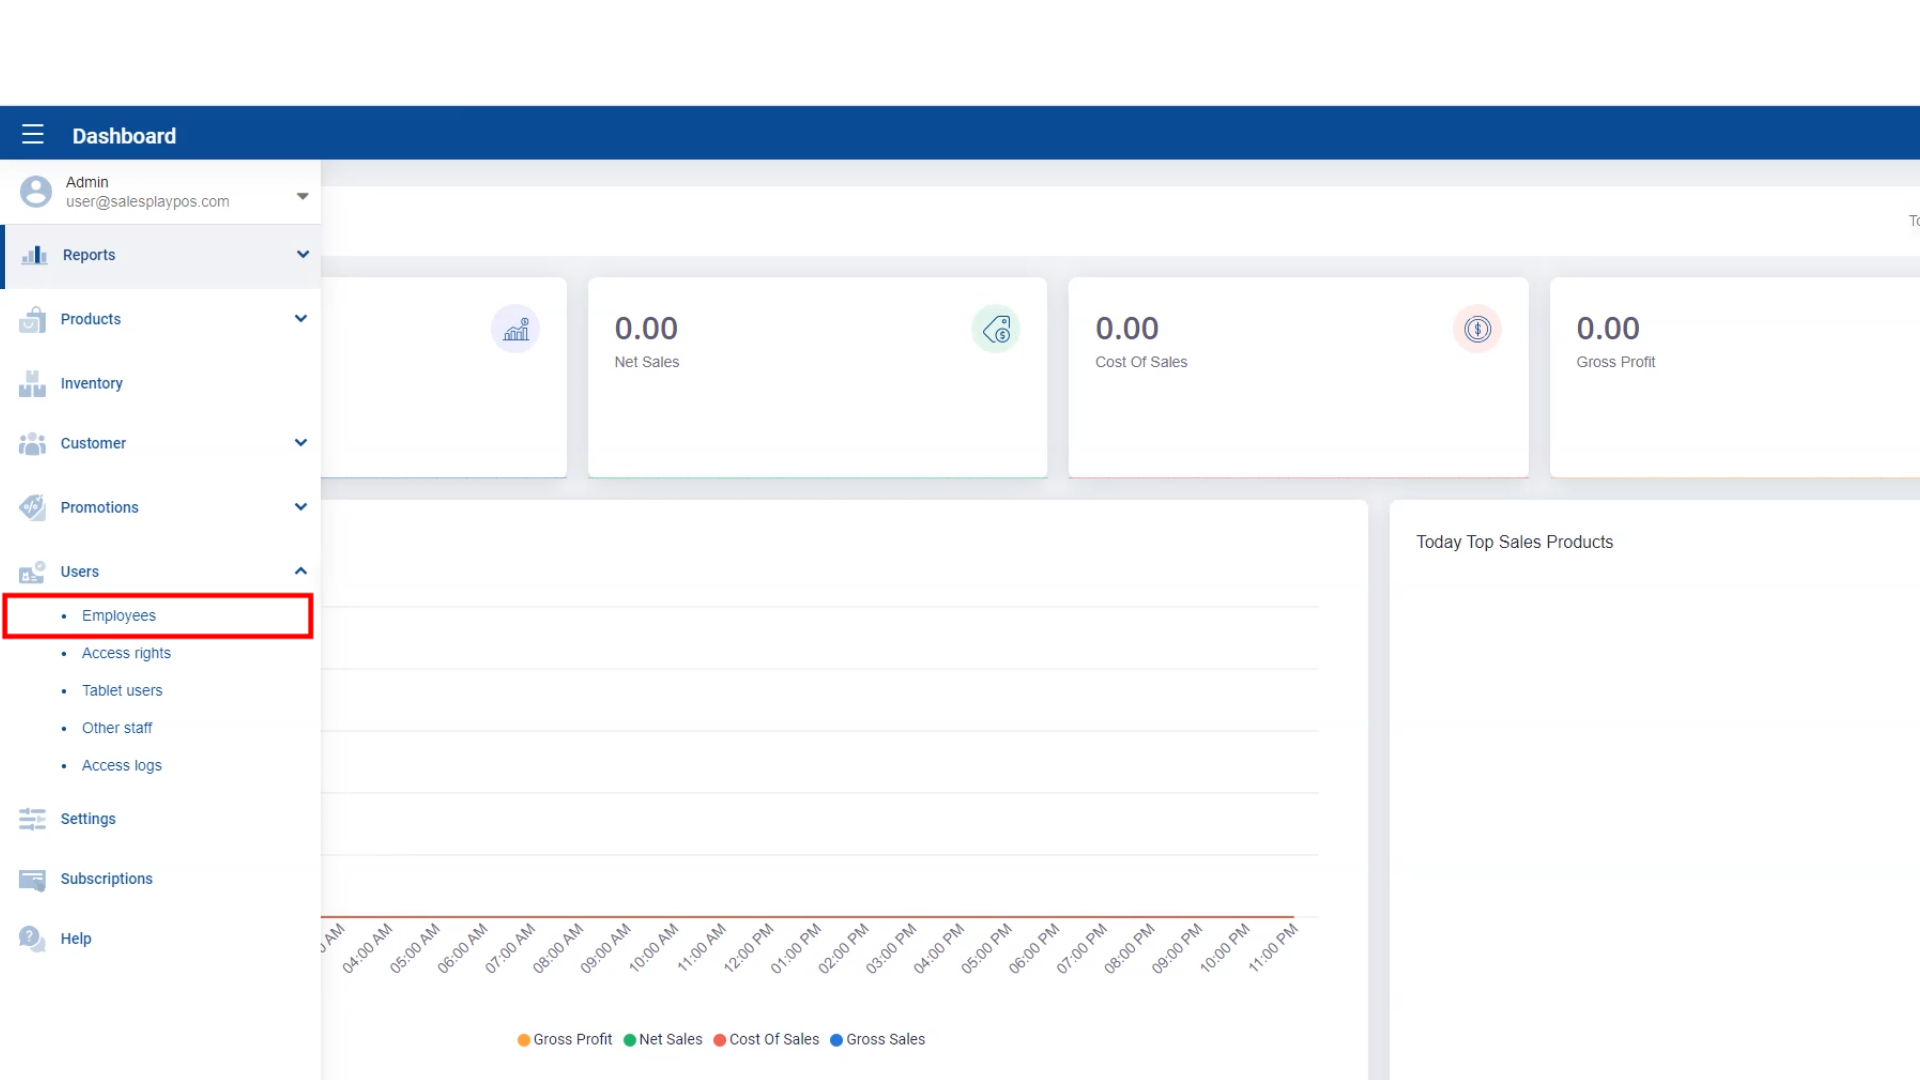
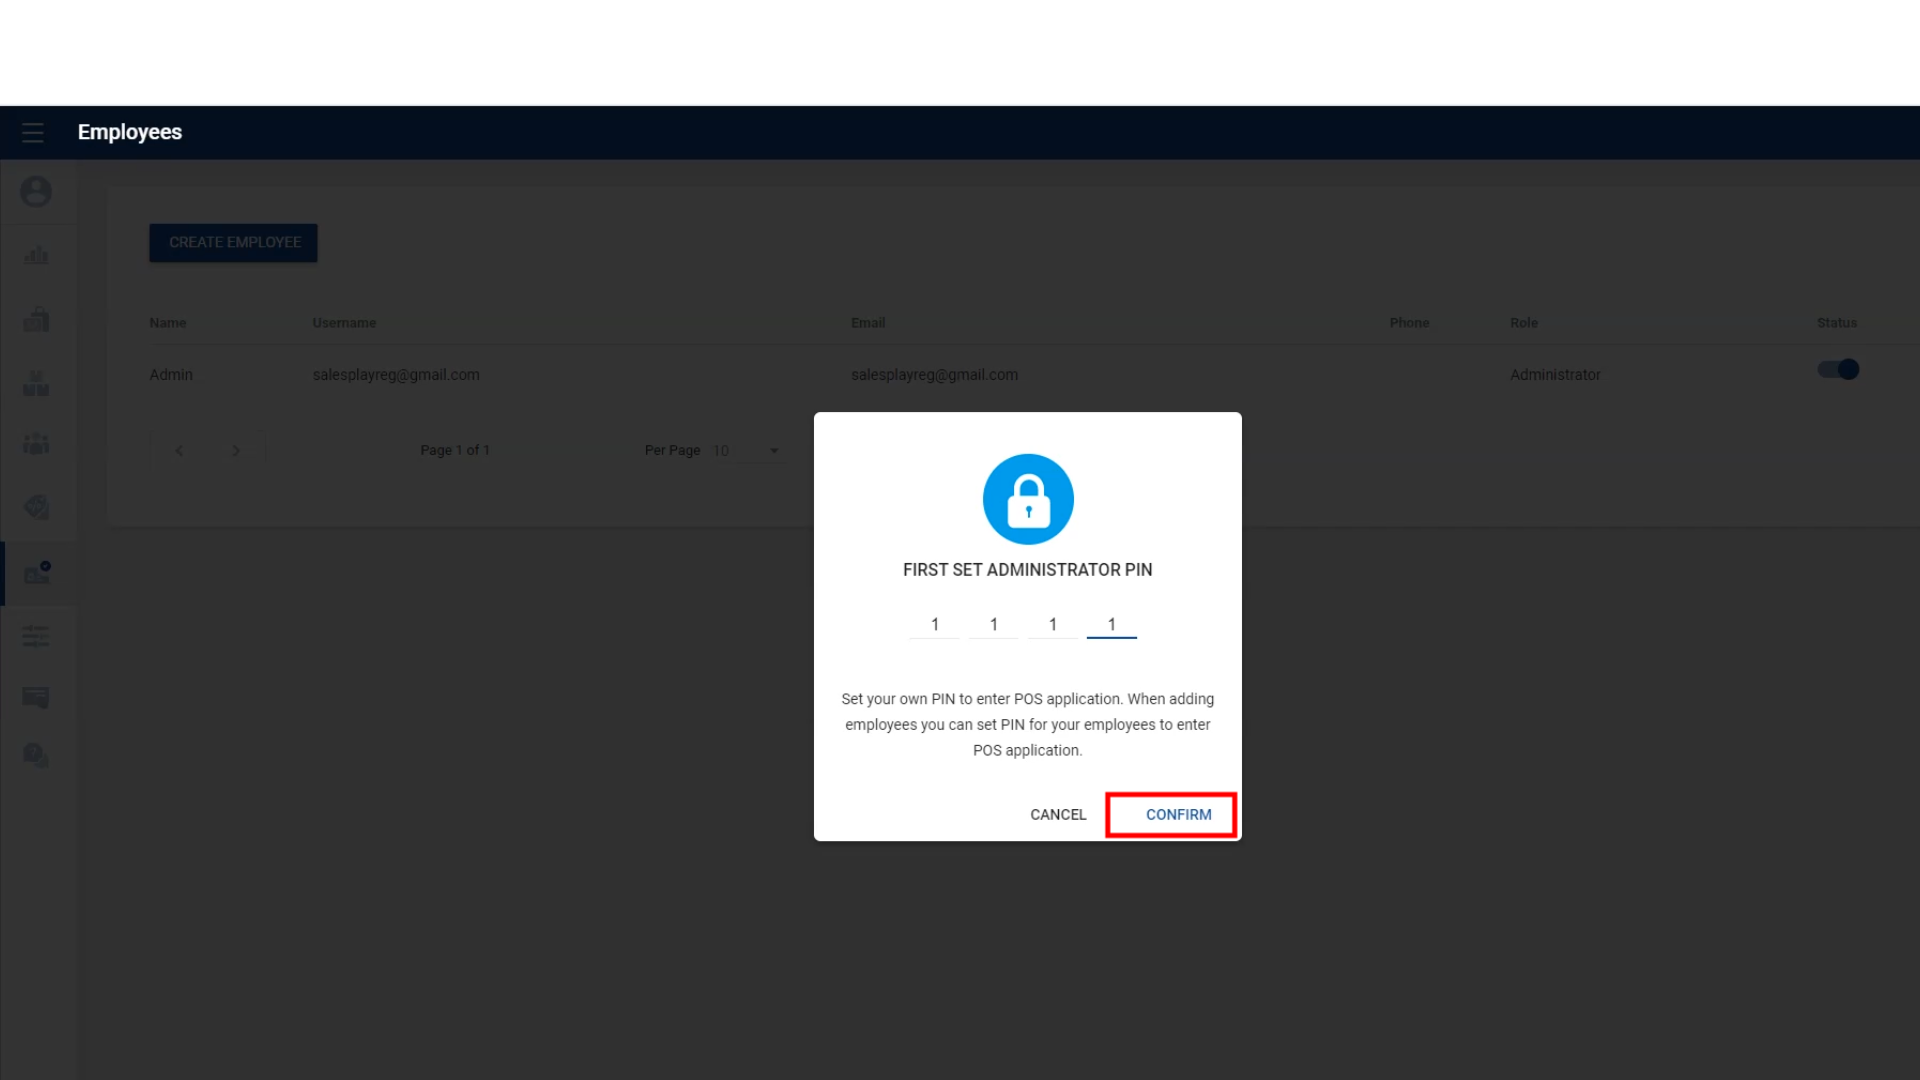
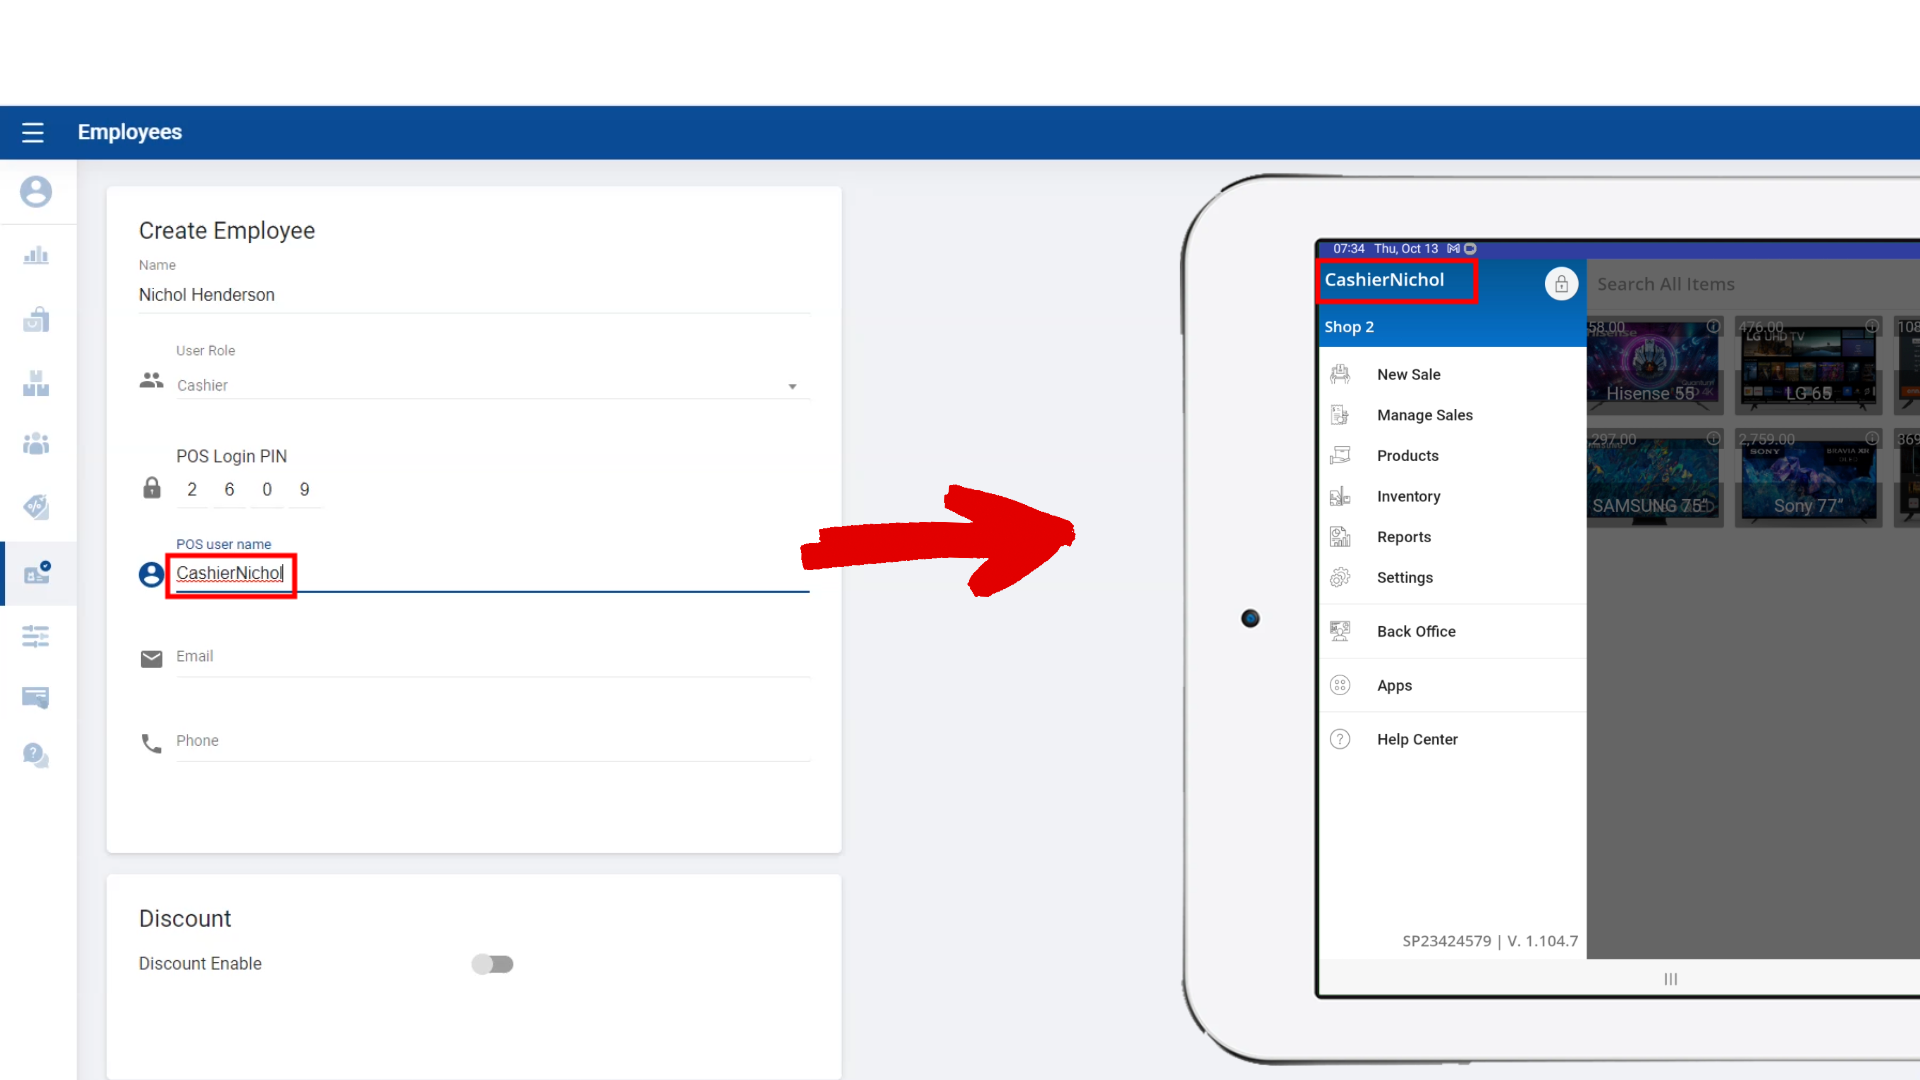
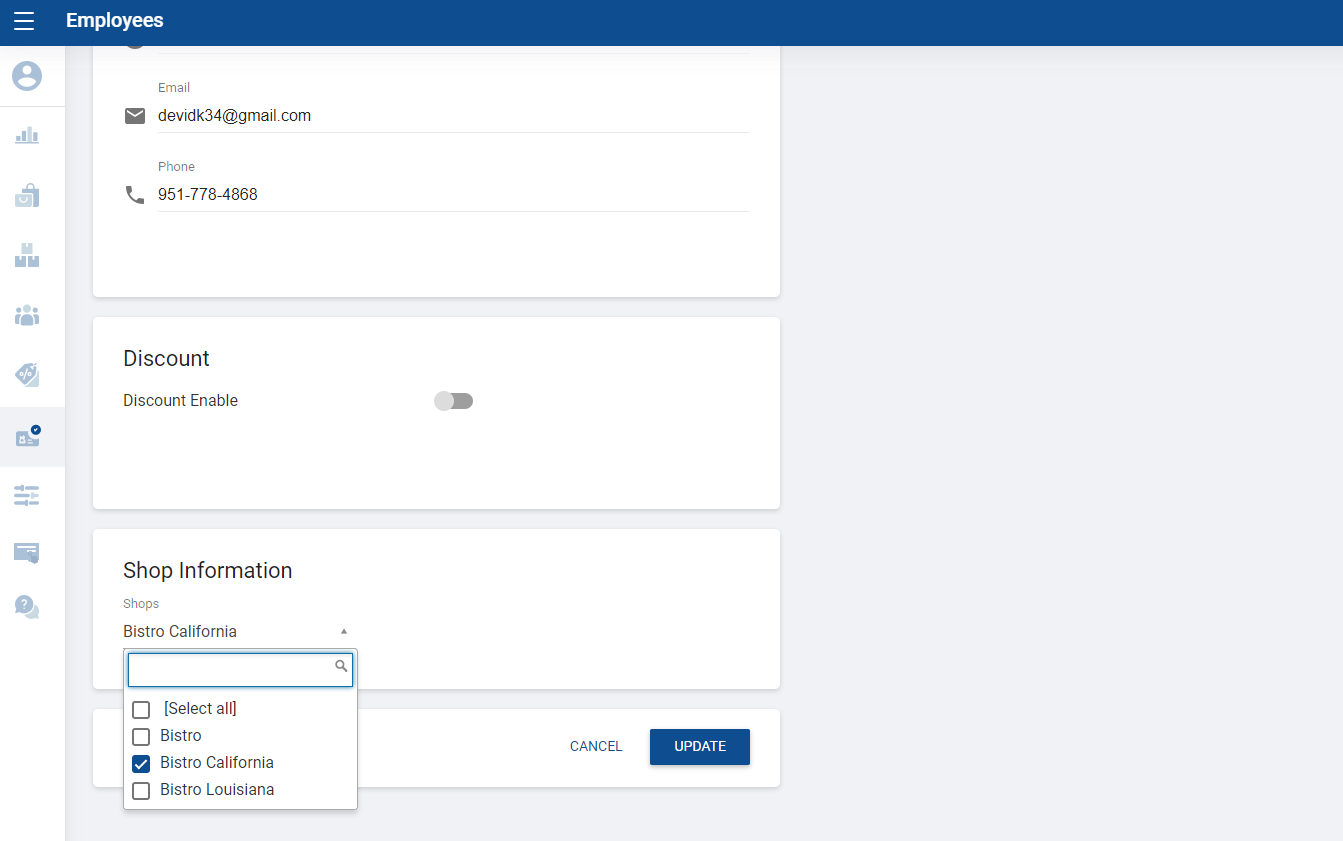
SalesPlay Back Office → Employees

Was this helpful?


Special Note

  • When you set a Personal Identification Number (PIN) for your employees or at least for the Admin using the Back Office Webportal, you will see a padlock or a PIN icon within the Point of Sale (POS) app.

1. Create an Employee


  • POS system allows you to create different employees / users with different permissions and roles based on owner's requirements to allow certain levels for certain employees. 
  • This access levels allows you to create different users and different user roles with wide range of permissions.
    • Ex:  
      • User Role Cashier can only do the billing 
      • User Role “Supervisor” can check some reports  
      • User Role “Manager” can delete receipts  


  • After logging into SalesPlay Back Office go to,
    • Users > Employees > Create employee

2. Create an Employee


  • Before you create your first employee, you need to set your own pin as the administrator. Then you can set pin for your employees when you create the employee and let them enter it at the POS application to login. 

3. Create an Employee


  • Now you can enter the details of the emploee such as : name, user role(manager, cashier, etc) and POS login pin. 

4. Create an Employee


  • Enter the employee's POS user name. As you can see in this image, POS user name will be visible on the main menu in POS app during the emplyee's shift. 

6. Create an Employee


  • Now you can assign your customer to a particular shop(s). Scroll down 

Was this helpful?