SalesPlay - Help Center
Top Searches:
Product
Stock
Invoice
Payment
Step By Step Process
Was this helpful?
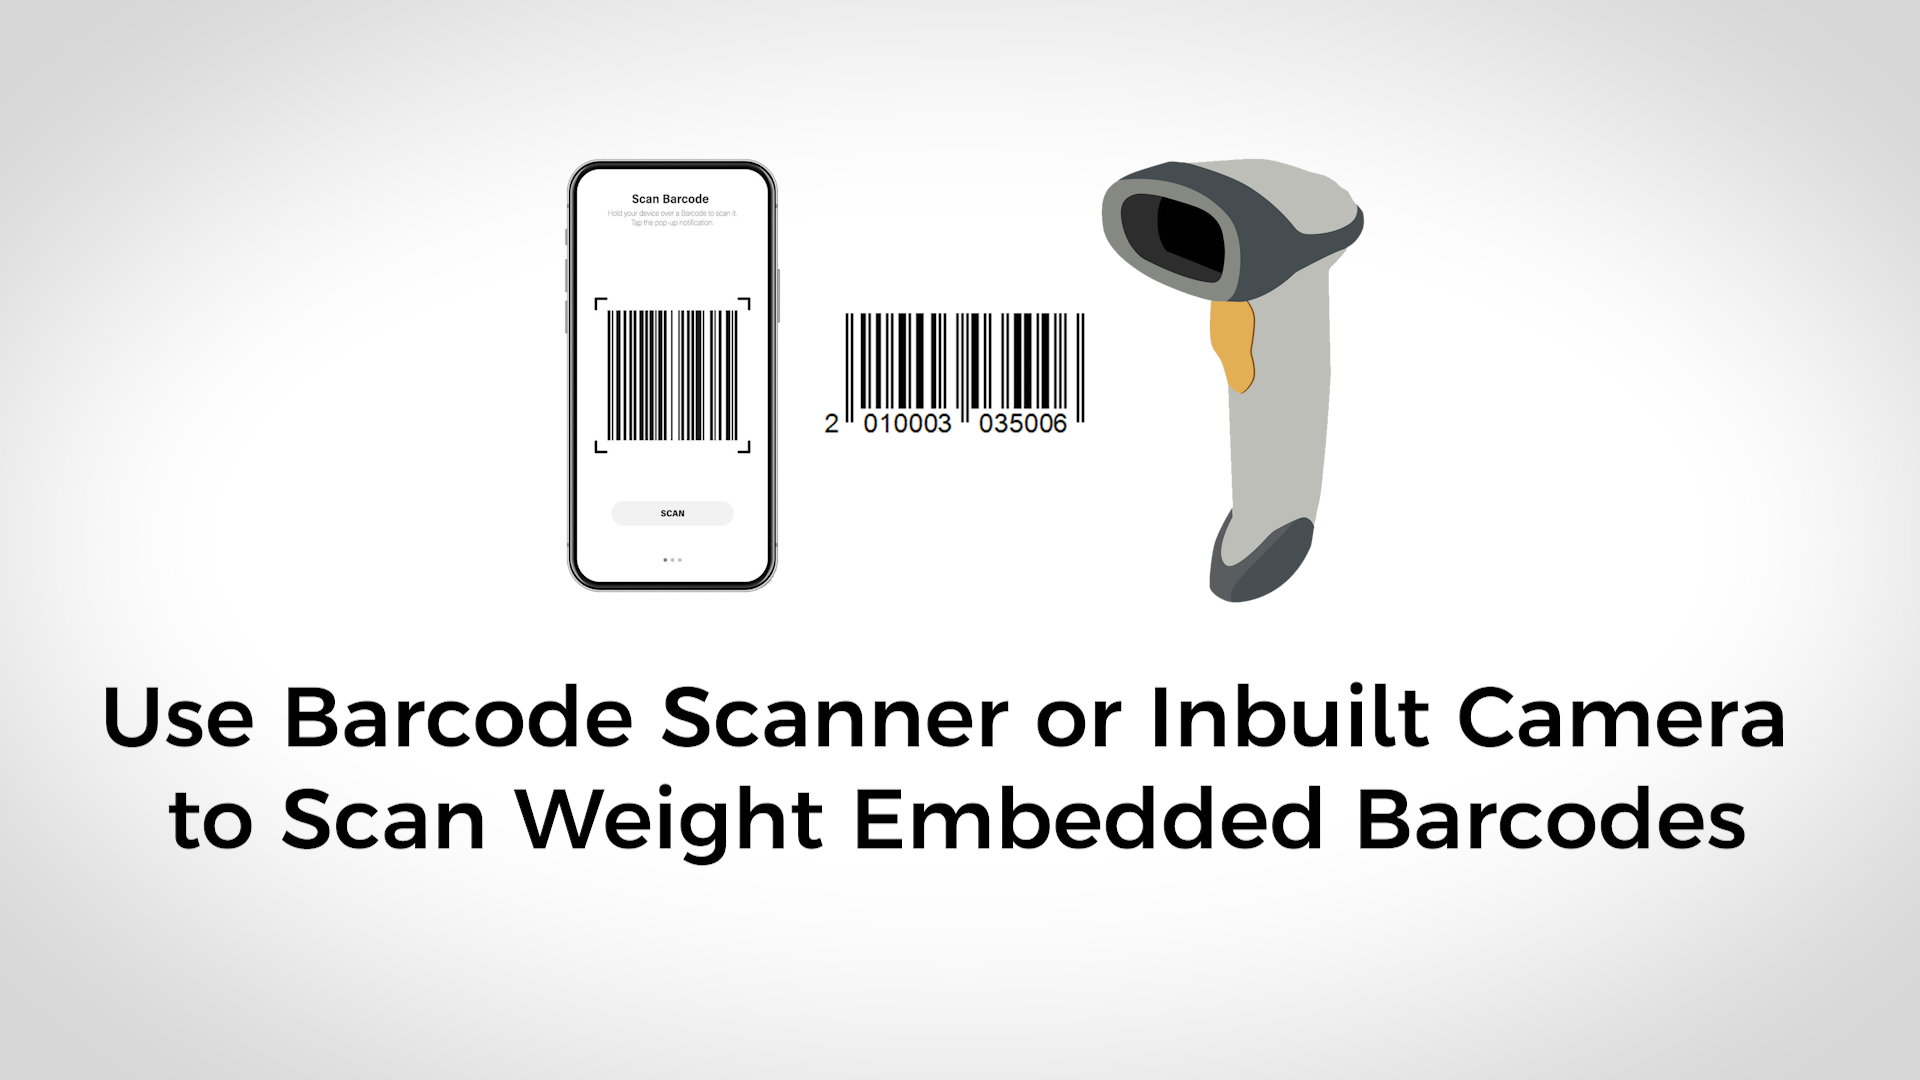
There are two types of embedded barcodes.
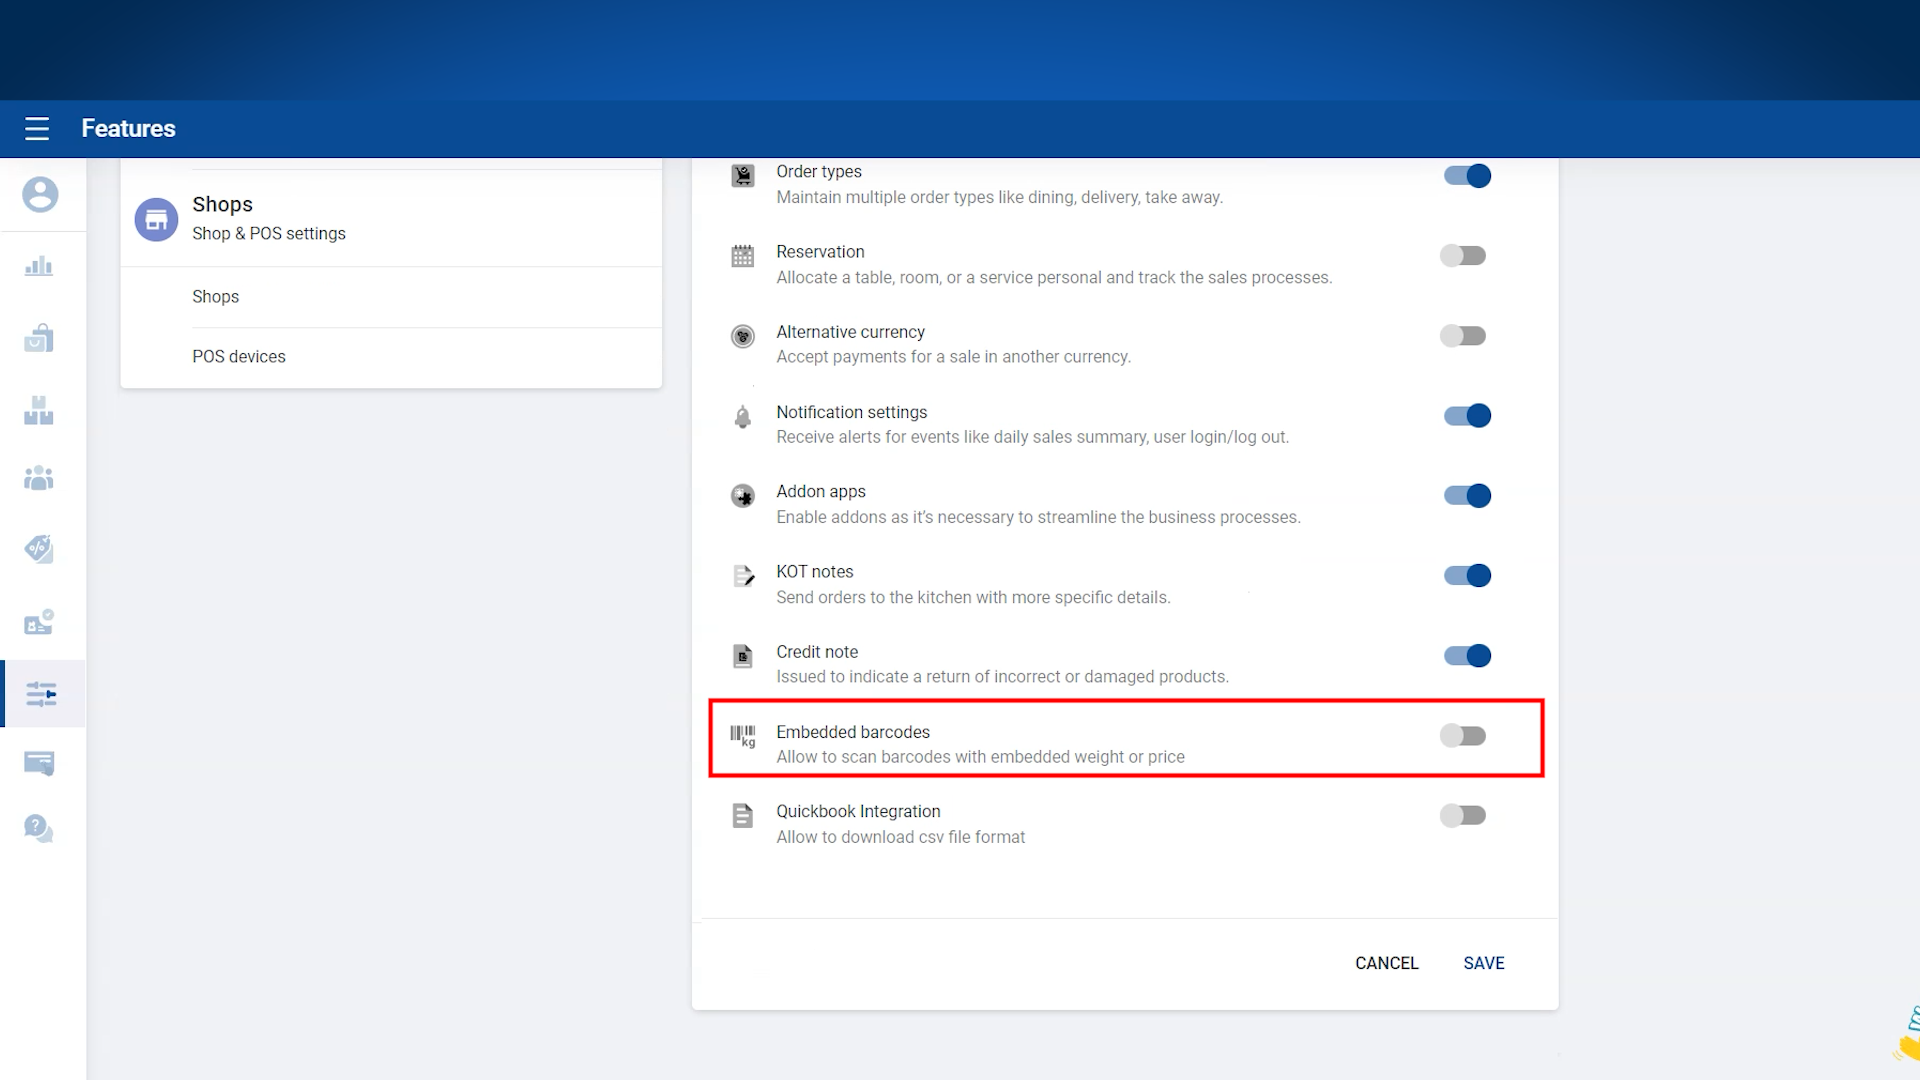
1. Login to POS Back Office Webportal
2. Select “ Settings” from main menu
3. Go to the “Features”
4. Tick ON “Embedded Barcode” section
5. Click ‘Save”
(Once you ON “Embedded Barcode”, it will appear as a sub-menu in the Settings section)
6. Click “Embedded Barcodes” from sub-menu
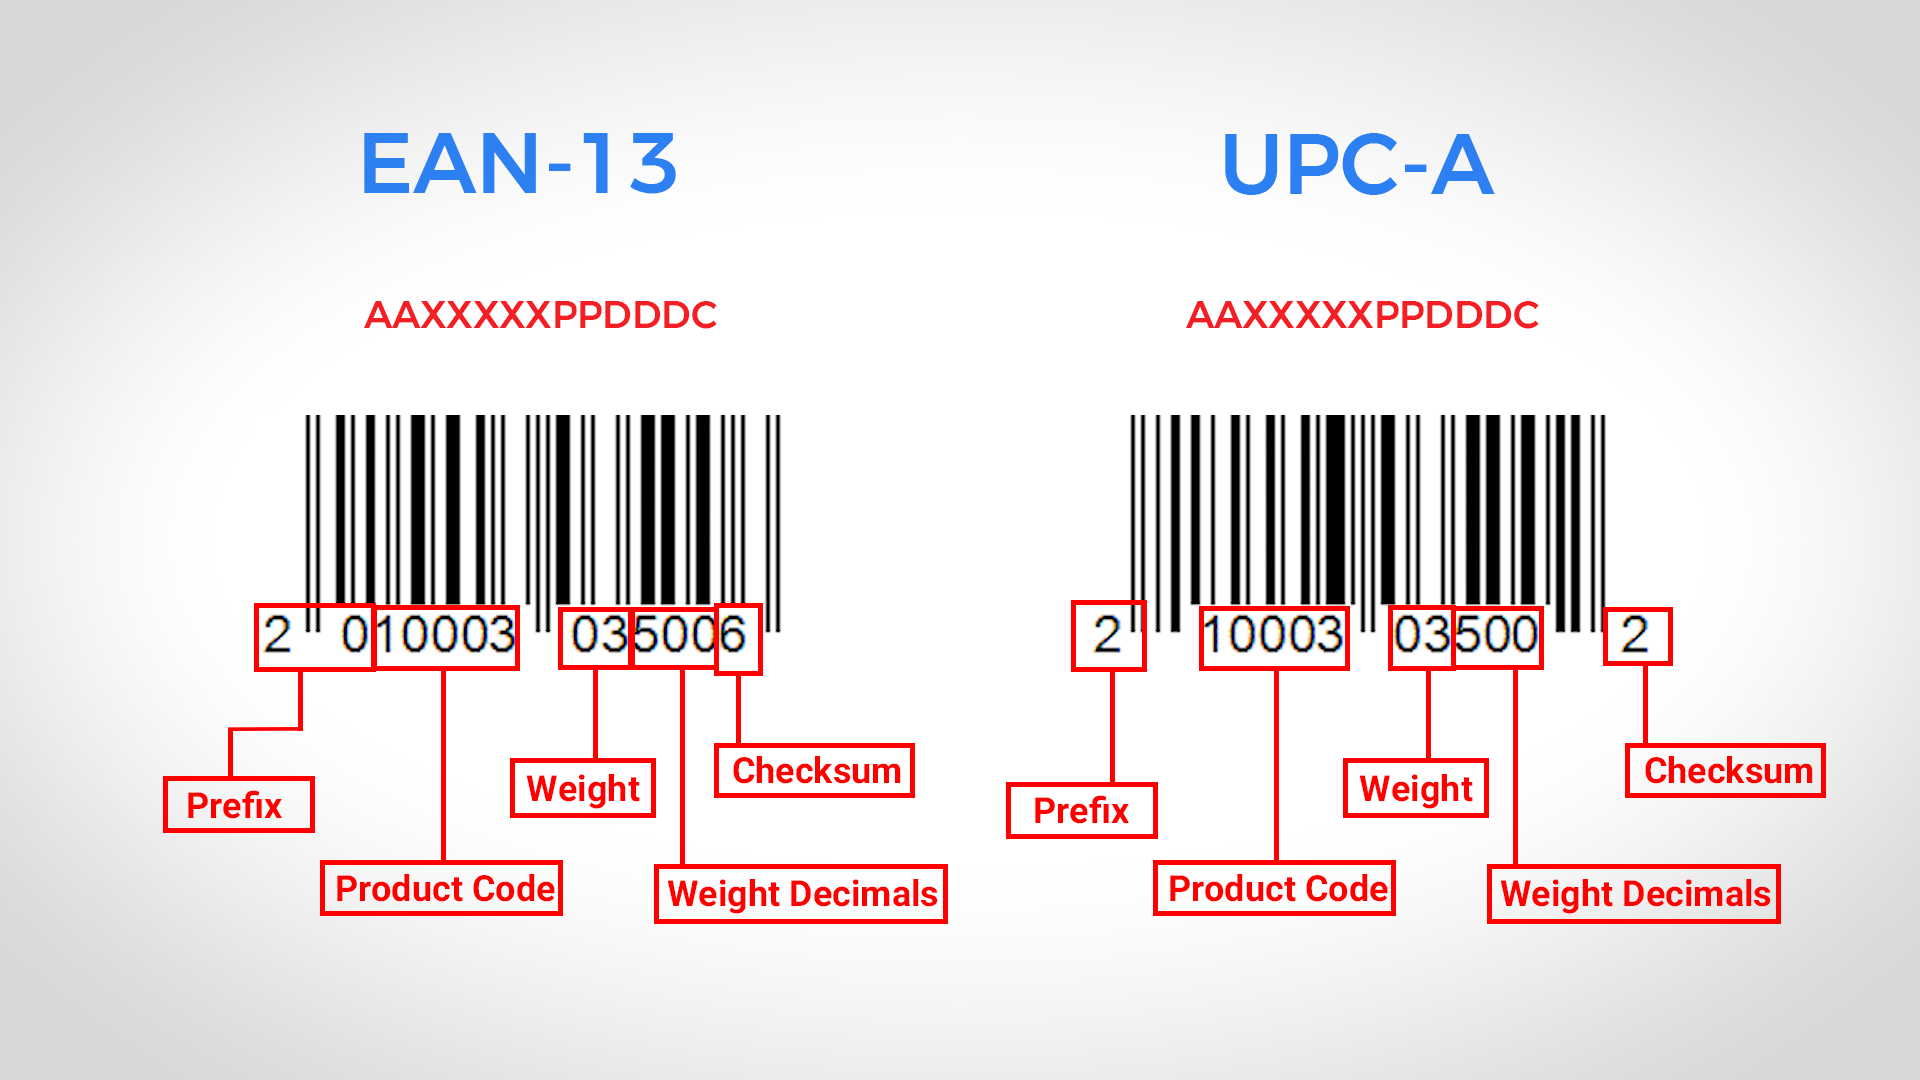
7. Select a Barcode profile ( EAN 13 or UPC-A)
8. Select a Barcode type as Weight Embedded
9. Enter correct digits
(Set the PLU value to 0 or empty if your product codes have 5 digits)
10. Tick ON “status”
11. Click Save

Set the PLU value to 0 if your product codes have 5 digits.
If your product codes have less than 5 digits, make sure to configure the PLU value correctly, based on the number of digits in your product codes.
After setting up the weight-embedded barcode profile, you need update your products accordingly.
Edit the product details in your POS system.
Change the Measurement from the default "Sold by Each" to the appropriate unit, such as Kg or Litre.
Set the Regular Unit Price based on the chosen measurement unit.
Beans (Product Code: 10003)
Change Measurement to Kg
Set Regular Unit Price to 20 per Kg
Sunflower Oil
Change Measurement to Litre
Set Regular Unit Price to 50 per Litre
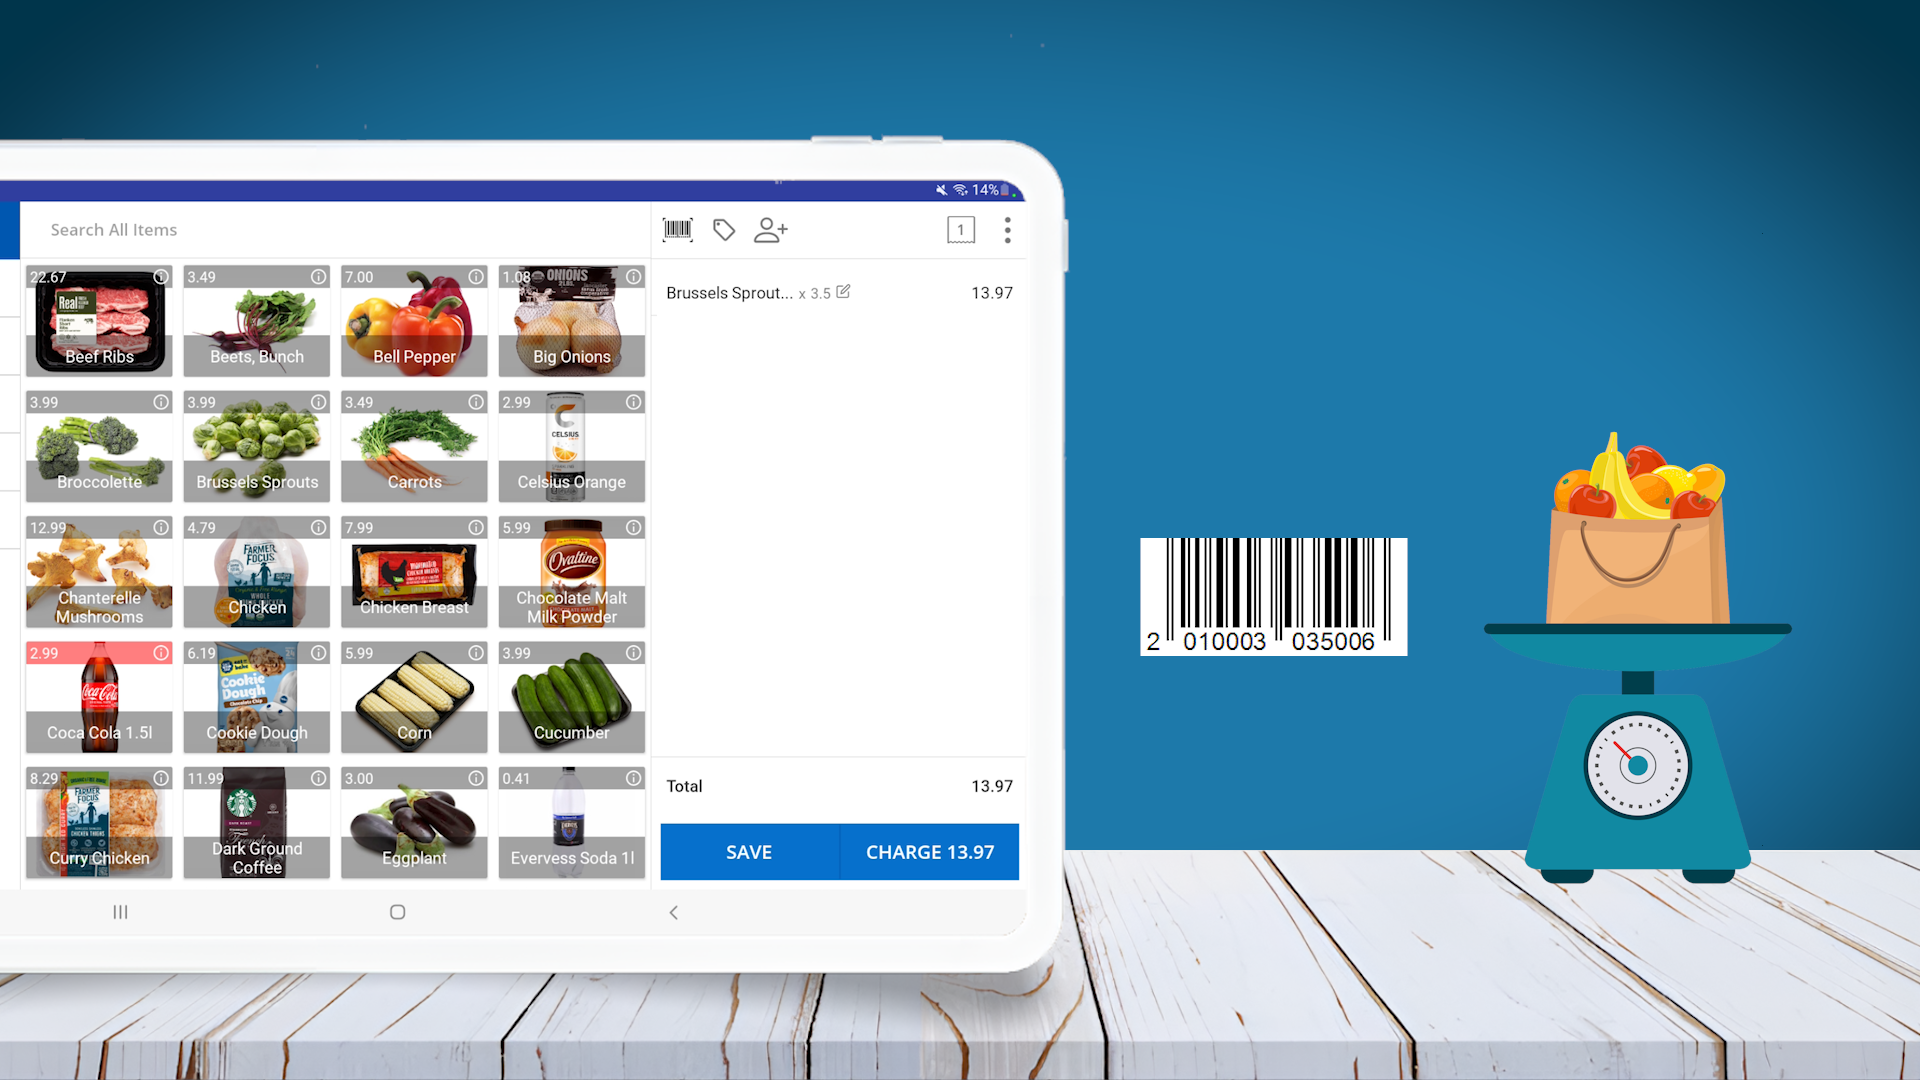
This ensures the POS correctly calculates prices for items sold by weight or volume when using weight-embedded barcodes.

What is PLU and How to Set the Number of Digits for PLU in SalesPlay POS?
When setting up barcode profiles in SalesPlay POS, the PLU (Price Look-Up code) helps the system identify product codes that have fewer than 5 digits. The “Number of Digits for PLU” setting tells the POS how many digits from the barcode should be treated as the product code.
If your product codes are less than 5 digits, you need to adjust the PLU setting accordingly in your barcode profile.
Product: Pumpkin
Product Code: 145
Set PLU as 2 in your barcode profile
Product: Tomato
Product Code: 1005
Set PLU as 1 in your barcode profile
If your product codes are 5 digits or more, you can set PLU as 0.
To configure custom barcode formats, go to Settings > Barcode Profile and use the "Add New" option.
Default barcode formats like EAN-13 and UPC-A cannot be edited, so create a new profile for custom formats.
By properly setting the PLU value, your barcode scanning will accurately map to the correct product codes in the system.
If you're facing issues with weight-embedded barcodes, the problem could be due to one or more of the following reasons:
The scale is printing an incorrect barcode format.
Incorrect product codes have been entered into the POS system.
The product codes generated by the scale do not match those in the POS system.
The barcode profile in the back office is incorrectly configured.
The product’s Measurement type has not been set correctly (e.g., still set as “Sold by Each”).
The Regular Unit Price has been entered incorrectly.
The product is still using the default measurement instead of the correct unit (e.g., Kg, Litre, etc.).
Was this helpful?